Sunday, 20 October 2013

Speakers and Radio fitting

Speakers

I upgraded the speakers to a couple of 3.5" waterproof ones, a little better looking than the ones that came with the radio. I am also intending to build some simple passive high pass filters to try and mitigate the distortion at very high volume:

The obvious place is in the boot panel; while this is behind the passengers its also closest to ear hight and discretely tucked away so you wouldn't really notice them unless you were looking. Final fit is waiting on some M3 nuts & bolts:

Radio

I changed my mind on the radio location, instead of the tunnel top I'm installing it in the aux panel, this should give it a better angle and more chance of reading the display. Worst case if it doesn't work I can always create a new panel and set it up as before. The radio will be instead of the boost/engine map switch button for now, potentially moving forward if I wire up the horn on the steering wheel centre push boost can come back.

First shot is for reference before I unplug everyting:

Getting worse before it gets better; the vinyl was savable, carefully peeled back, template marked up and the hole cut with my Dremel. Position was limited by the existing hole, vinyl to cover up afterwards and enough space behind the panel for wiring and the back of the unit:

The Radio comes with a couple of stainless brackets for fitting on motorbike handlebars, I modified them and drilled mounting holes in the site to line up with my aux panel cutout. These were all drilled right into the plastic radio case while it was disassembled:

I thought through it enough to cut some fitting tabs from the cutout, but I decided on left/right instead of top & bottom so had to bend the whole panel flat to drill out and install the radio:

The Radio sits with the top edge proud and the bottom edge flush with the front of the panel to get as good angle as I can on the display. The pane is a little cluttered now, but reasonably neat:


The screws holding the radio are 16mm self tappers, cut down so they dont protrude into the radio case too far. The small circuit board is the PWM controller for the heater fan:


All ready for re-wiring.

Friday, 18 October 2013

Hood corners - test

Just a little time on the hood, I tried out the paper template on an off-cut to see how it behaves:

It seems to be ok - i.e. reasonably neat job and allows the fabric to sit flat on the front of the hood frame as well as curve around the corner without losing shape; easier said than done though - the fabric I'm using has a plastic inner for waterproofing which makes it challenging to press & pleat into shape:

A little more thought needed on the edging then I'm going to have another go at the full hood.

Friday, 11 October 2013

Comforts of home... Radio while you drive

Nothing like being distracted & this enhancement is moving away somewhat from the sparse racing car.

My motorway run to work is 42 miles each way & on some of the best/worst traffic roads in the UK, so often nose to tail/stationary. I miss the radio - I've got used to BBC Radio 2 - Chris Evans Breakfast show on the way in and Simon Mayo Drive time on the way home.

This is just a test, i.e. a number of factors will affect if its fitted - including how embarrassing it is listening to radio in an open vehicle. The Radio is a £20 Motorcycle Waterproof FM Radio so cheap enough to experiment with:

The unit seems reasonably well made, i.e. plastic feel is fine and not cheap, proper click buttons & basic FM radio functionality with a 15 station memory, headphone jack and Aux in jack. At ignition off/on it remembers if it was off or on and the radio channel.

Volume is plenty loud enough - even on the first setting its loud, so it would appear theres plenty of scope even with the car noise.

For now I've wired it to a standard lighter socket plug for testing & everything is sitting lose so I can try it out at speed etc & see if its worth fitting. Ultimately the two speakers would sit in the panel behind the seats roughly at ear level:


The speakers are a little too bright for me but they are screwed together and can be dismantled so if I decide to fit it long term I'll spray the covers black:

This is my intended mounting position, out of the way on the tunnel, it will be installed from underneath giving a reasonably tidy appearance & relying heavily on its waterproof design:

The only niggle is the display viewing angle, its setup for motorbike handlebars so the display is visible when looking down on the unit. When looking at it square as in the first picture the display is not readable:

I took a look inside incase it was a removable filter/polariser in front of the LCD, no luck though its a solid state unit. I'll just have to live with not seeing the frequency indicator. The controls are straight forward once presets are tuned i.e. only needing access to volume +- and a button to cycle through the stations so it may be ok:

A brief sound test - all on the lowest volume setting, music and speech both seem clear and reasonably bassy:


Just need the rain to let up a little and I'll give it a field test.

Update 12/10/13 - Sound test result, its fine up to around 40-50mph, then you have to ramp the volume above setting 12 and there is distortion. I did only have the speakers rolling around on the passenger seat too. Seems like for motorway earphones via the aux out would be a must.

If nothing else, its something to listen to when stuck in traffic, when on the move theres plenty to keep me occupied driving anyway.

Sunday, 6 October 2013

Hood frame - Mk 2


I'm trying something different for the hood to windscreen attachment. My previous version would have lifted in the centre too easily so this U channel version should avoid that. Its just stock aluminium channel from Wickes:

Notching the aluminium will take away strength but should not affect what I need - i.e. fore/aft hold. The ends either side will be held down to the windscreen pillars:

That fits fine - possibly too tight a fit since it will have the roof material wrapped over it - it does seem to have more potential than the previous design:

A little work to find out the shape of the corners - I really want a single piece of fabric over the top, so used some paper templates to understand how the corners might work. This looks reasonable, a couple of pleats then its just straight backwards:

Unfolding shows how much over each side:

I'll think on it for a while before actually cutting cloth...

Tuesday, 24 September 2013

Tickover - gone, then fixed itself

More fine weather, warm too - so took the Zero into work;

The M25 was horrible this evening, 30+ minute crawling along, then the odd thing & reason for this post; I lost tickover - the car was running fine just stopped when I took my foot of the gas.

I stuck with it back to Maidstone, and once in town tickover was  back - must have fixed itself...

                                     SAM
                         I mean it fixed itself.

                                     SPOOR
                         Fixed itself.

                                     DOWSER
                         ... ixed itself.

                                     SPOOR
                         Machines don't fix themselves.

                                     DOWSER
                         ... fix themselves.

                                     SPOOR
                         He's tampered with it, Dowser.
hmmm...

I don't think it was fuel - that should have made running lumpy, nothing got particularly hot, perhaps a bad connection to the IACV?

The headlights were on, and volts a little low, I guess due to the load + tickover - possibly lose alternator belt?

Something to mull over

Update 26/9/13 - I caused the same effect today, clear run 80+ miles round trip, then sitting in traffic had the main beam lights on - switched on the heater fan, volts dropped to 12.2v and tick-over went lumpy.

Update 17/2/14 - Has not re-occured, tick over is rock solid. Battery has been fully charged (if it was that), IACV 12v feed now taken from a different source (if it was that). nothing conclusive.

Saturday, 21 September 2013

Half hood - less than perfect

No more stalling, time to actually cut some cloth and at least have a go, First up a mock up with an old sheet which let me think through some decisions around the sides & provides a rough pattern for cutting the roof fabric:


I decided to velcro the roof to the supporting straps, hopefully this will give me some flexibility on fit:

Wrinkly!  Probably the wrong tension on the sewing machine.

The sag in the middle is ok, this is just sitting on the velcro straps with no attachment at the back & no
tension in the roof itself:


The windscreen is the most complex part, and partly a problem of my own doing since I dont want a line of poppers around the front edge. The webbing is stitched into the front hem which locates the hooks and 2mm aluminium bar  - the whole thing is meant to give the front edge stability and stop it lifting in wind - not there yet though its still very flexible at the moment:

I'm using 2mm round aluminium bar along the front edge - it might work better with a 10mm flat bar sitting flush on the top or front of the windscreen surround...


Not sure yet - the result isn't great - still good enough to keep going but this might be the first try which is a learning exercise for doing it properly a second time.

Saturday, 14 September 2013

Half hood - small steps

A little work on the half hood, theres no real plan here;

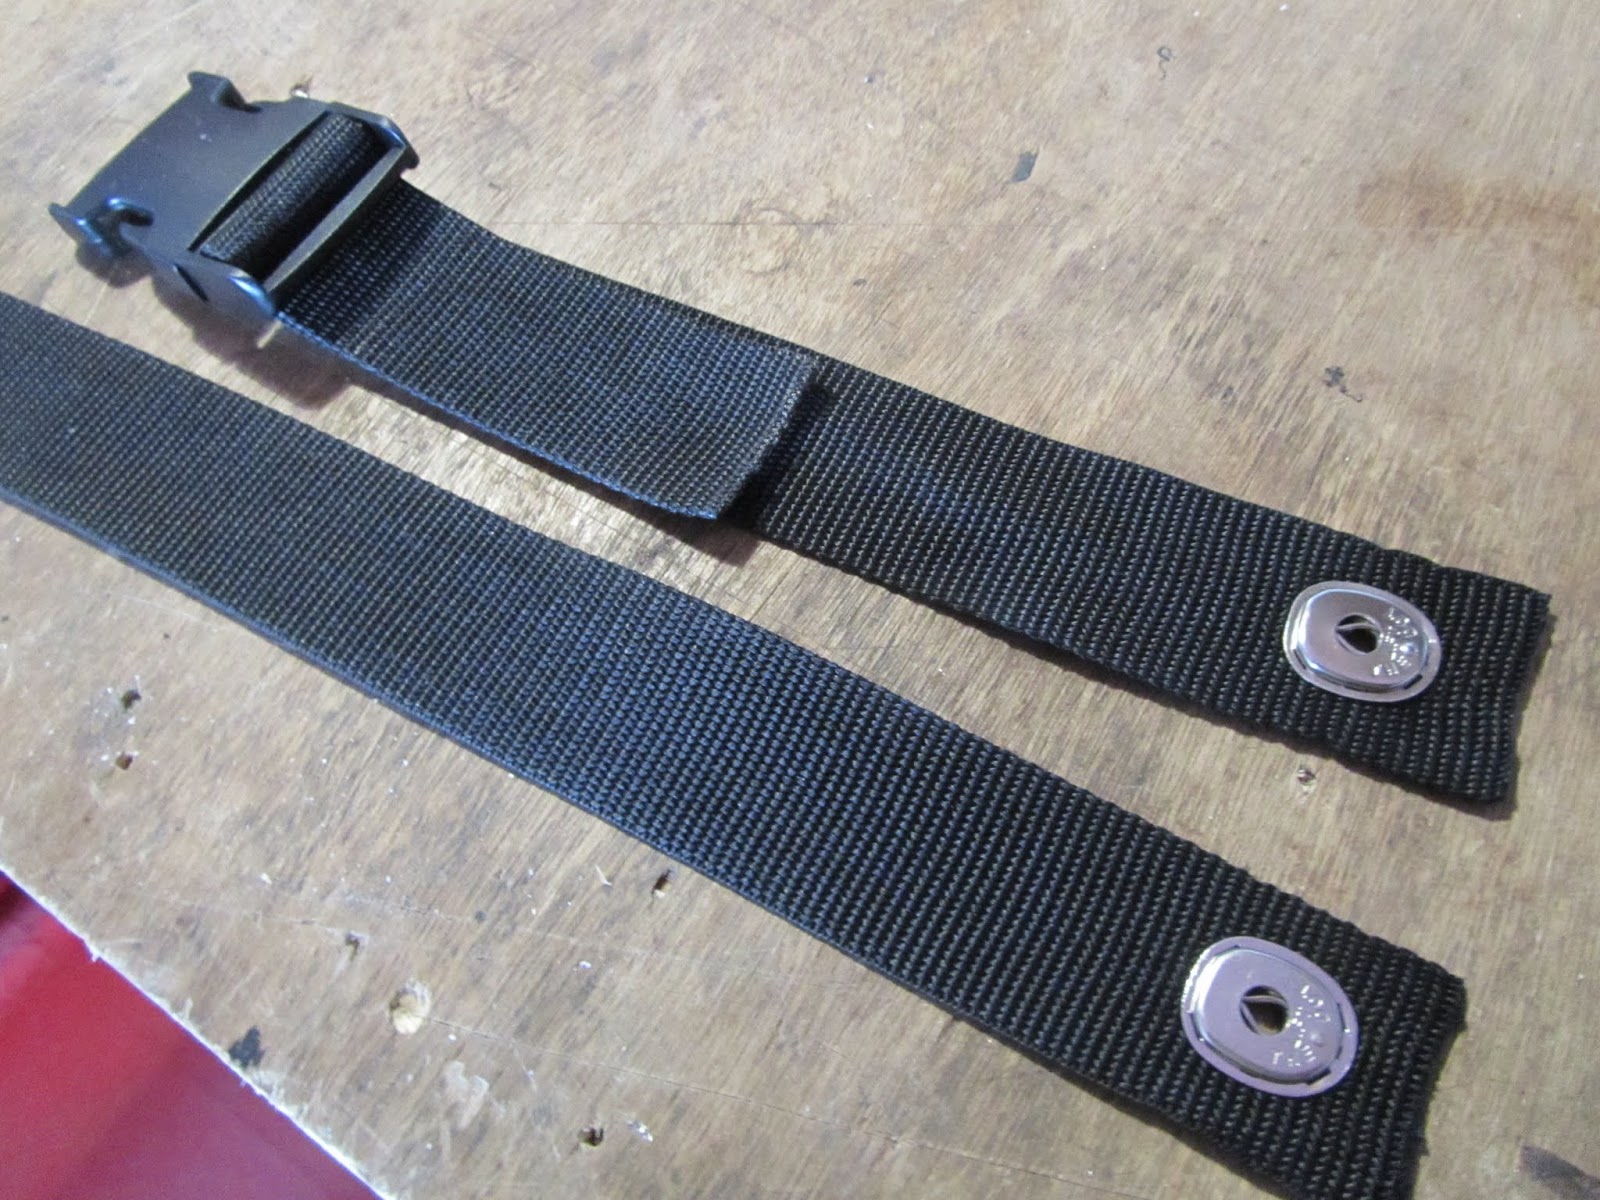
First up some 40mm webbing straps that will run from the windscreen to the back panel, lift the dot fasteners rather than poppers give a rock solid fastening. At the back these straps sit under the lip of the boot cover so nothing is visible: 


I created a couple more of the 'hooks' - these clip on to the catches on the back of the windscreen and dive over the top to hold the front edge of the hood in place:

All fine so far - the basic hood structure looks fine. Once the roof panel is in place there will be extra lateral webbing too holding the sides near the wheel arch on the back. I have the central fixing point on the windscreen too - it may just have a hook assembly to stop the middle lifting under air pressure.

...and another couple of lift the dot fasteners on the windscreen pillars at the front will provide tension around the leading edge:

I have mocked up the front section of hood to practice my stiching. There is an aluminium rod running along this front edge to give it shape & the plan is the hooks above will sit in the front seam and give everything structure:

Needs some thought before I do any more - to think through:

1. Front seam assembly so I get a neat visible seam on the outside, hold the shaping aluminium bar inside the seam and provide pockets for the webbing hooks underneath.

2. Hood panels themselves, the mock up windscreen part emphasises this is a 3D rather than flat shape - I need to decide whether I'm going for a single panel or the multiple panels as per the paper model. More panels in theory will allow the correct shape, on the other hand its also more complex so will highlight poor tailoring skills.

3. Hood panel fixing to the webbing structure - sew directly or loops & velcro so it can be adjusted/tensioned independently.


This feels like the sort of job that needs doing twice - i.e. first go to get 80% of the way there, and then re-do the whole thing to get a half decent result.

Thursday, 12 September 2013

Wednesday, 14 August 2013

Immobiliser

Everything back together for a test  - the circuit I have been adding was a simple immobiliser which cuts some circuits unless another electronic key is used to disable it. It is auto arming, as soon as the ignition is turned off it arms itself and has the ubiquitous flashing led to show its presence:


The intention is to guard against simple hot wiring of the ignition. If someone starts to take the bonnet off or get in the back of the fusebox (good luck with that rats nest), or simply tow the car then all bets are off.

Hopefully though it will stop a passing opportunist joyride attempt and give me a little more protection than the stock Ford ignition key barrel.

I'm not posting installation details for obvious reasons.

Fuse and Relay identification

Back from summer holidays;

Theres no circuit diagram, even for the stock GBS Zero loom, that I know of - so to add my couple of circuits & while the fuse box was disassembled I took some time to trace out fuse and relay functions. The relay functions were cribbed from a picture on DC Tough's pictures then confirmed with circuit testing:

My fuse box is mounted upside down with fuses on top, so flip this if using it on the standard layout. The lighting circuits are not of interest so I didn't fully trace everything.

Top 3 rows of fuses are permanent live feed, the bottom row controlled by the Aux relay. All 4 left hand columns are fed by a bus bar so is straightforward to use some of the spare slots.

This is the ECU power arrangement, pin 11 is driven directly from the ignition switch, pin 28 via the ECU relay which in itself is also controlled by the ECU from Pin 4:

Touch wood everything will still work when I put it back together!

Upadate - Some re-identification and extra circuits added later.