Saturday, 23 November 2013

Polyswitch for permanent live

I have an FIA cutoff/kill switch between the battery and the car for security purposes as much as anything. The downside is this means when the FIA cutoff is open no power to the immobiliser 'flashing led' or the radio memory. The option I'm taking is a polyswitch across the FIA cutoff to supply a continuous low current voltage event when the battery is otherwise isolated:

The polyswitch behaves like a self resetting fuse, permitting approx 3A current before it effectively breaks the circuit by heating up and increasing its own resistance. This allows a standby current to virtually everything but prevents the engine being started. Once the polyswitch cools down after a second or so its back to normal. I found one which is rated 16v 3A stable, tripping current 5A.

Functionality is
FIA switch open - (3A max draw) radio memory, immobiliser flashing light works, trips if you try to start the engine.
FIA switch closed - everything functions normally including starting/running the engine.

Fitting
Made up this mini loom and the loops go over either side of the FIA main terminals, the polyswitch itself is the tiny blob which looks like a ceramic capacitor. This ceramic part sits on a small aluminium plate to make sure when it heats up it cannot contact anything else:

Learning
This arrangement is not compatible with a full cutoff circuit that also grounds the alternator via a large resistor. If both the grounding resistor and polyswitch are left in place when the FIA switch is opened (key removed) the grounding resistor draws the tripping current permanently and everything gets very hot. (Learned the hard way - but before any magic smoke was released :)

I'm assuming the FIA switch is a break before make, so no simple way around this - seems you either setup the car with a cutoff that will actually stop the engine & not harm the alternator, or as I have now as an isolator switch which should not be opened when the engine is running.

Update - removed when the fusebox was next open and now these permanent feeds have their own direct fused circuit from the battery.

Friday, 22 November 2013

Badges - Fin. "Zero"


To complete the set (Roundels & Flags) some smart Chrome/Enamel metal lettering for the model name:


Its certainly nothing like the standard GBS Model badge, but I prefer it - just retro enough & hopefully will help with the standard  'What is it?' question when people see the car.

The acid test will be how long the letters stay stuck on!

Found online from here: Something Magic


Standard questions so far being:

  • What is it?
  • Is that as fun to drive as it looks?
  • What type of engine, how fast does it go?

Sunday, 17 November 2013

GBS Badges

I spent Saturday at the Classic Motor Show & while I was there picked up some pre-ordered badges from the GBS stand. Its a while since I went to the show - and I don't recall it being so massive before - it seems to take over the entire NEC now - not kits but classic cars/bikes/auto-jumble etc. I don't think I saw Lotus or any Sevens other than GBS.

GBS had the white demonstrator and red Mazda based demonstrator on show. GBS Facebook Show page has a picture of the stand, there were a few tens of thousands more people about when I dropped in mid morning:

I'm still not convinced on a nose badge & anyway the bonnet is already sporting Union Flags & don't want to get too busy.

Opted for the steering wheel centre and boot badges:


Custom 'Zero' model badge to come for that space under the GBS roundel later...

Friday, 15 November 2013

All change - Headlamps & Indicators

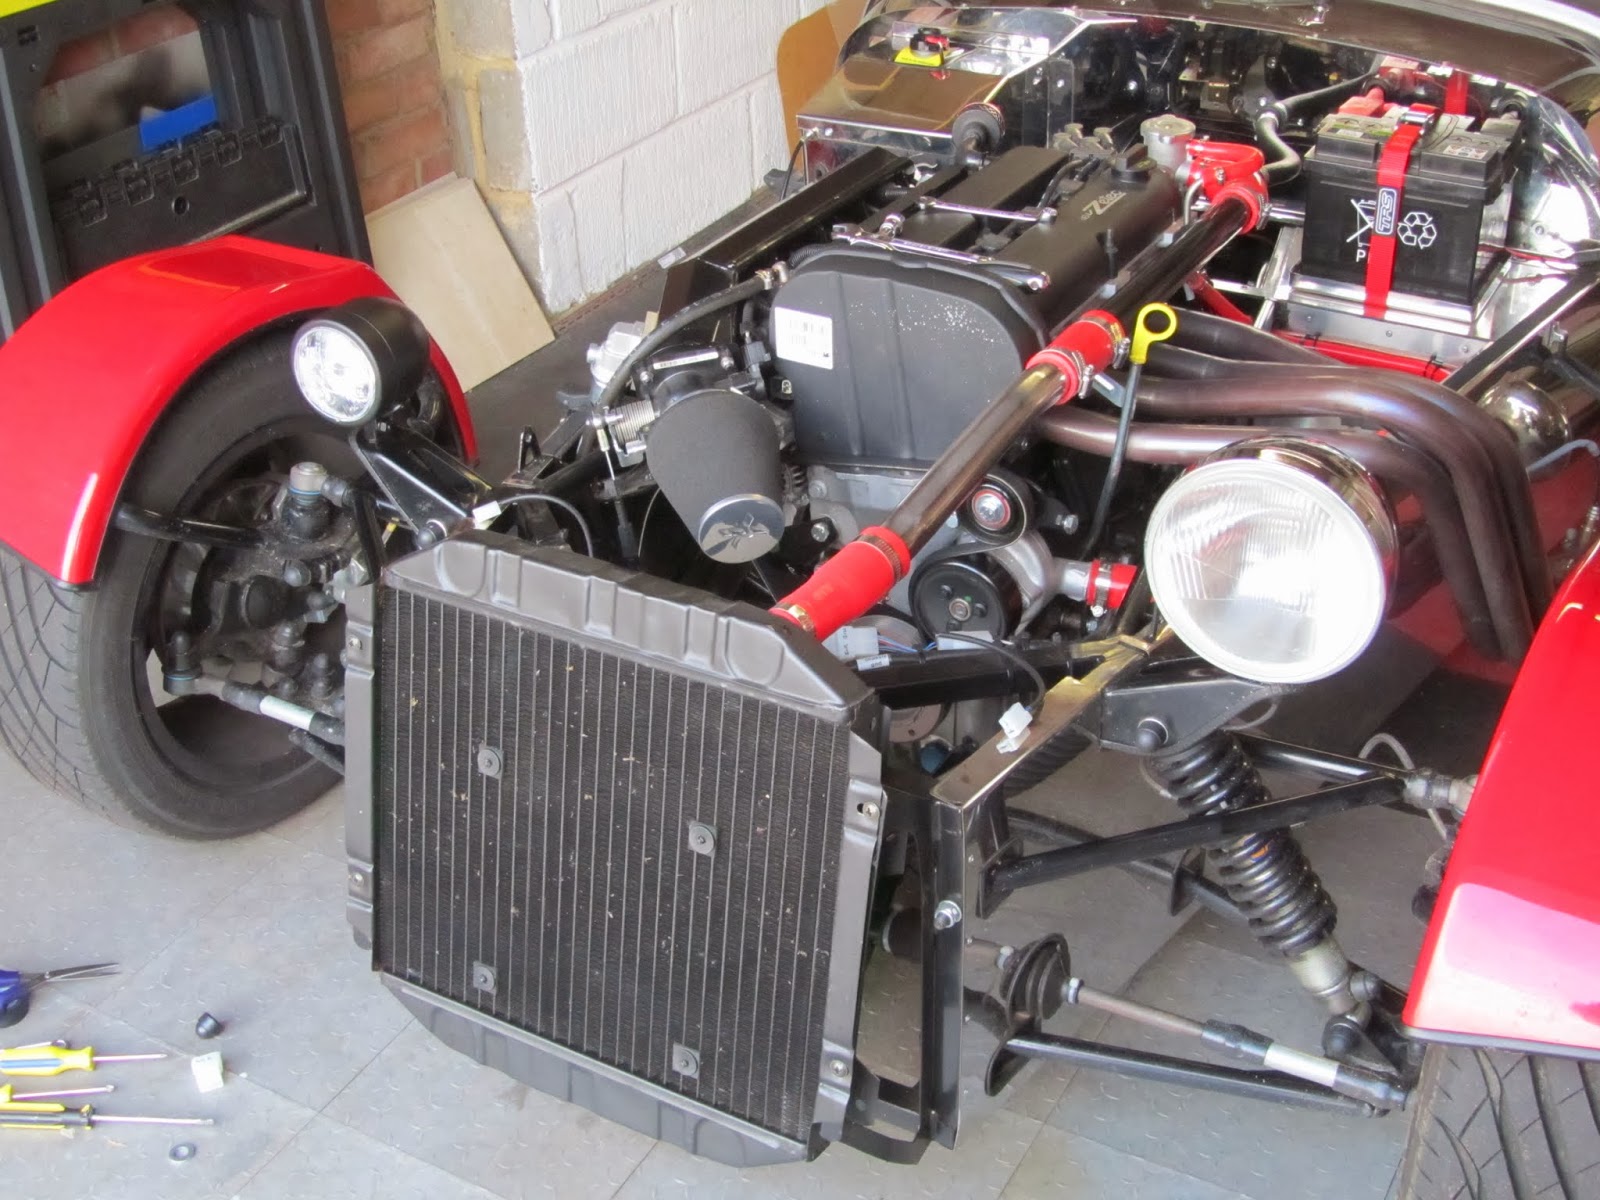
First up some new more discrete indicators, these are designed for motorbikes - the old sitting on the bench for comparison:

Headlamps I've taken a leaf out of various RhoCar examples and fitted some dominator 3.5" lamps. 
Reference shots for the wiring, I managed to keep the same loom just needing to remove and re-install the various plugs.

White - Blue/Red - low beam
Yellow - Blue/White - high beam
Black - Ground

 Comparison - new on the left, old on the right:


All installed and ready to go; I lined up the new lamps by first marking the pattern on the old ones inside the garage door, then without moving the car lining up the new ones. Hopefully thats good enough until MOT:


Took her for a test drive, headlights are fine, almost flush with the top of the bonnet now.
My 5 minute test drive turned into 90 minutes ;) ... down the A229 through Staplehurst, Goudhurst, Cranbrook road towards Tonbridge, hit the A21 then back along the A228 towards Yalding, up the hill and home..  a little nippy, a little wet too !  but good fun.

Indicators are flashing too quickly - so theres something amiss there - I'll have to check the bulb ratings on the new indicators presumably they are lower resistance?

Update - Turns out the original indicator bulbs were 12v 21w,  new bulbs are 12v 10w - so that explains the higher current through the indicator circuit and faster flashing - it must think a bulb is missing - new 21w bulbs on order but I'll check they don't generate too much heat before fitting permanently.

Checked I had no short circuits, left & right hand side seemed to be about the same resistance so picked up a replacement electronic flasher relay too which can switch 0.2-20amps - it doesn't care if the indicator circuits/bulbs are not precisely matched and gives a reliable regular flash. Downside is it won't change rate if a bulb blows.

Update - May 2014 - Although these lights look the part they don't give out a very good beam, noticeably less light than the original 7" reflectors. I'm going to try some extra bright bulbs, but if the issue is with the reflectors then the whole units may have to go.

Sunday, 10 November 2013

Radio installed, horn push working, IACV re-wired

The primary change going on was the Radio installation, while I had the aux panel off I also re-wired the switches to show when side lights are on & in the process moved the IACV 12v feed off the Aux Fuse & wired up the steering wheel centre horn push

Steering Wheel Horn Push

This just needed the steering slip ring terminals connecting to the button & Orange loom line connecting to same. The column itself turns out to be grounded so no need for anything else.

IACV

The IACV was working fine but originally I took its 12v permanent feed from the Aux panel circuit. I reconsidered this thinking if the Aux fuse blew due to using the lighter socket etc then I'd lose tick over on the engine too.

IACV 12v feed is now taken from the Alternator switched 12v input (not the battery line, but the fused line to the alternator rectifier.

Aux Wiring

I Re worked the Aux panel wiring as I went, using alternate connectors, these pictures were for reference more than anything else so if I needed to revert to the original configuration I could. I left the crimped spade connectors on the lighting groups - purple, blue, green etc & covered with shrink wrap - theres no point disturbing things that are working fine:

Moving to 3x waterproof connectors with 4 pins each - roughly power on one, switch signals on the  next & stereo speakers on the last. I pulled in a new permanent live feed; Dip beam signal drives the fog lamp, side lights drives the illumination:

Re-assembly

Everything re-assembled & tested:

Night view, as soon as the side lights are on they drive the back lighting on the Aux panel switches as well as the dash clocks:

... and a better demonstration of the brighter lights when depressed (bottom left is the heater fan):


The only pending items now are:

A polyswitch fuse (on order from Ebay) to sit across the FIA isolating switch and provide power to the radio & immobiliser even when its red key is removed. This will let the Radio remember stations and the immobiliser led flash.

A simple high pass filter on the speakers to allow even more volume - depending on my experience using them though.

Revision to the fog lamp button - see post note on the dimmer circuit to work in full tale-tale/indication mode for this lamp to meet MOT regulation.

Sunday, 3 November 2013

Aux Panel rewiring - dimming Savage switches

Re working the Aux panel wiring to both install the radio and fully setup the Savage switches so they glow on dip beam. The switches are double pole double throw - one side is used to switch the LED between full 12v and via a 5k resistor from the sidelights circuit.

I picked up the circuit from www.locostbuilders.co.uk, redrawn/coloured for my setup/cable colours. Each switch has its own resistor and separate led feeds from the device itself which should eliminate impact to the cars existing circuits.

This wiring means the lighting indicates when the switch is depressed, not necessarily that the circuit it operates is functioning (there is always a tradeoff)

Key: C - common, NO - normally open, NC - normally closed:

I tried 1k ohm resistors and 5k ohm resistors - the latter used here (but not great pictures) showing the  dim lit state on the left and with the fog lamp depressed on the right - showing brighter when its on: 

The wiring took an age & this is as tidy as I can get it. I'm not using standard automotive colours due to using up some cable I already had but roughly the scheme is:

Red - +ve ignition or permanent (the radio takes a permanent feed to remember stations)
Black - ground
Blue - lights +ve feed
Yellow - device out

All blacks terminated to the casing with a rivnut, and the +ve lines via a chock block:

Losing the light too much to take the dash off and adjust the aux feeder circuit; so the last job today was drilling the M3 cap head speaker bolts & pulling through the speaker cable from the dash area, through the tunnel & up into the boot space:


Post note:
On testing I realised my fog switch illumination was not a true tel-tale - it was wired to the side-lights for its dim and full brightness.

Update - re worked the switches and preferred switch dimming circuit later to ensure the fog lamp is a true tel-tale & standardise the switch wiring.

Sunday, 20 October 2013

Speakers and Radio fitting

Speakers

I upgraded the speakers to a couple of 3.5" waterproof ones, a little better looking than the ones that came with the radio. I am also intending to build some simple passive high pass filters to try and mitigate the distortion at very high volume:

The obvious place is in the boot panel; while this is behind the passengers its also closest to ear hight and discretely tucked away so you wouldn't really notice them unless you were looking. Final fit is waiting on some M3 nuts & bolts:

Radio

I changed my mind on the radio location, instead of the tunnel top I'm installing it in the aux panel, this should give it a better angle and more chance of reading the display. Worst case if it doesn't work I can always create a new panel and set it up as before. The radio will be instead of the boost/engine map switch button for now, potentially moving forward if I wire up the horn on the steering wheel centre push boost can come back.

First shot is for reference before I unplug everyting:

Getting worse before it gets better; the vinyl was savable, carefully peeled back, template marked up and the hole cut with my Dremel. Position was limited by the existing hole, vinyl to cover up afterwards and enough space behind the panel for wiring and the back of the unit:

The Radio comes with a couple of stainless brackets for fitting on motorbike handlebars, I modified them and drilled mounting holes in the site to line up with my aux panel cutout. These were all drilled right into the plastic radio case while it was disassembled:

I thought through it enough to cut some fitting tabs from the cutout, but I decided on left/right instead of top & bottom so had to bend the whole panel flat to drill out and install the radio:

The Radio sits with the top edge proud and the bottom edge flush with the front of the panel to get as good angle as I can on the display. The pane is a little cluttered now, but reasonably neat:


The screws holding the radio are 16mm self tappers, cut down so they dont protrude into the radio case too far. The small circuit board is the PWM controller for the heater fan:


All ready for re-wiring.

Friday, 18 October 2013

Hood corners - test

Just a little time on the hood, I tried out the paper template on an off-cut to see how it behaves:

It seems to be ok - i.e. reasonably neat job and allows the fabric to sit flat on the front of the hood frame as well as curve around the corner without losing shape; easier said than done though - the fabric I'm using has a plastic inner for waterproofing which makes it challenging to press & pleat into shape:

A little more thought needed on the edging then I'm going to have another go at the full hood.

Friday, 11 October 2013

Comforts of home... Radio while you drive

Nothing like being distracted & this enhancement is moving away somewhat from the sparse racing car.

My motorway run to work is 42 miles each way & on some of the best/worst traffic roads in the UK, so often nose to tail/stationary. I miss the radio - I've got used to BBC Radio 2 - Chris Evans Breakfast show on the way in and Simon Mayo Drive time on the way home.

This is just a test, i.e. a number of factors will affect if its fitted - including how embarrassing it is listening to radio in an open vehicle. The Radio is a £20 Motorcycle Waterproof FM Radio so cheap enough to experiment with:

The unit seems reasonably well made, i.e. plastic feel is fine and not cheap, proper click buttons & basic FM radio functionality with a 15 station memory, headphone jack and Aux in jack. At ignition off/on it remembers if it was off or on and the radio channel.

Volume is plenty loud enough - even on the first setting its loud, so it would appear theres plenty of scope even with the car noise.

For now I've wired it to a standard lighter socket plug for testing & everything is sitting lose so I can try it out at speed etc & see if its worth fitting. Ultimately the two speakers would sit in the panel behind the seats roughly at ear level:


The speakers are a little too bright for me but they are screwed together and can be dismantled so if I decide to fit it long term I'll spray the covers black:

This is my intended mounting position, out of the way on the tunnel, it will be installed from underneath giving a reasonably tidy appearance & relying heavily on its waterproof design:

The only niggle is the display viewing angle, its setup for motorbike handlebars so the display is visible when looking down on the unit. When looking at it square as in the first picture the display is not readable:

I took a look inside incase it was a removable filter/polariser in front of the LCD, no luck though its a solid state unit. I'll just have to live with not seeing the frequency indicator. The controls are straight forward once presets are tuned i.e. only needing access to volume +- and a button to cycle through the stations so it may be ok:

A brief sound test - all on the lowest volume setting, music and speech both seem clear and reasonably bassy:


Just need the rain to let up a little and I'll give it a field test.

Update 12/10/13 - Sound test result, its fine up to around 40-50mph, then you have to ramp the volume above setting 12 and there is distortion. I did only have the speakers rolling around on the passenger seat too. Seems like for motorway earphones via the aux out would be a must.

If nothing else, its something to listen to when stuck in traffic, when on the move theres plenty to keep me occupied driving anyway.