Friday 26 December 2014

Christmas Present - Pirelli Calendar

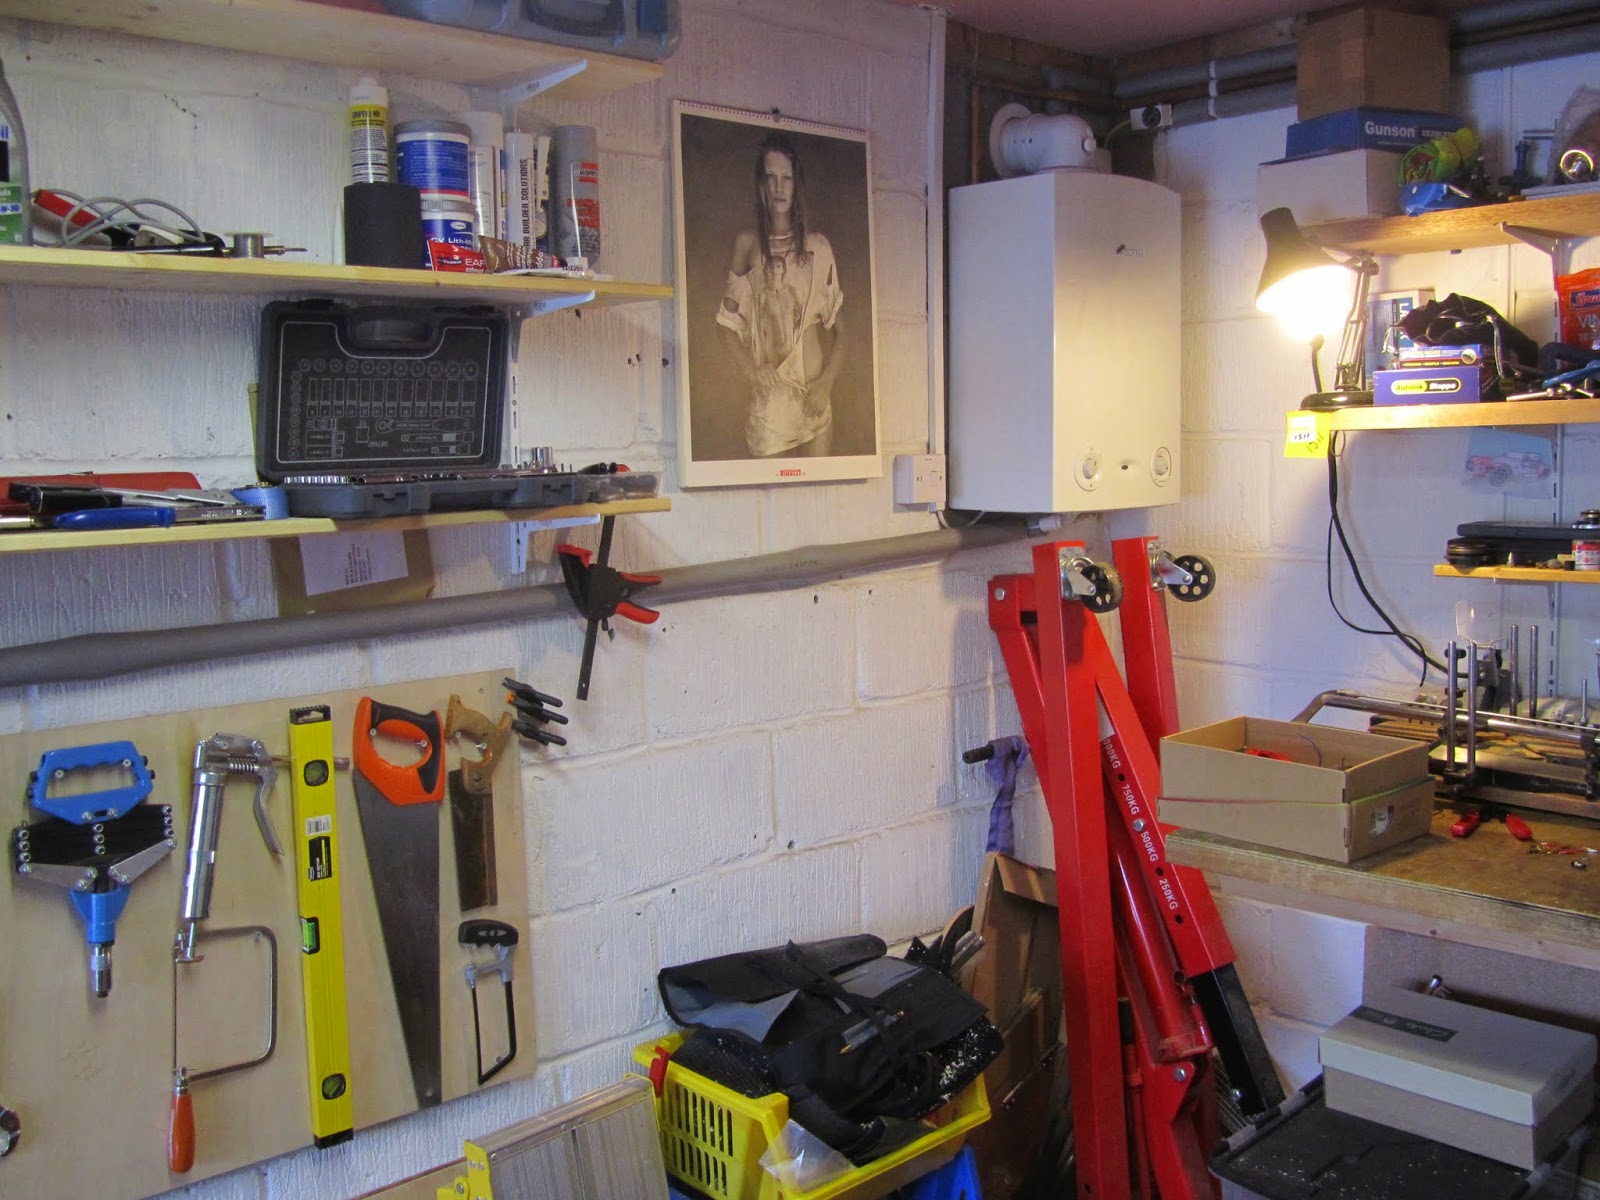
One of my Christmas presents was a vintage 1998 Pirelli calendar, cunningly selected so the days & dates will line up correctly in 2015.

Just in time for the new year and will add to the whole slightly retro 7 garage feel..

Its bad luck to open calendars before January though!

Flick Wiper

I found the most useful mode on the wipers is a single wipe; i.e. generally due to the screen size & type of weather a simple - push once for one wipe - is perfect to keep visibility clear;

This was the final circuit, double checked on RhoCar, Simon @ GBS and during build.
The switch over relay temporarily disconnects slow wipe from the park switch and over to 12v instead. A momentary push button to ground will energise the relay and wipe while pressed leaving the column stalk functionality to work as normal.

Red labels showing the wiper plug/socket lines,
Blue labels the relay connections.


Reference shot of the wiper motor plug before any changes...

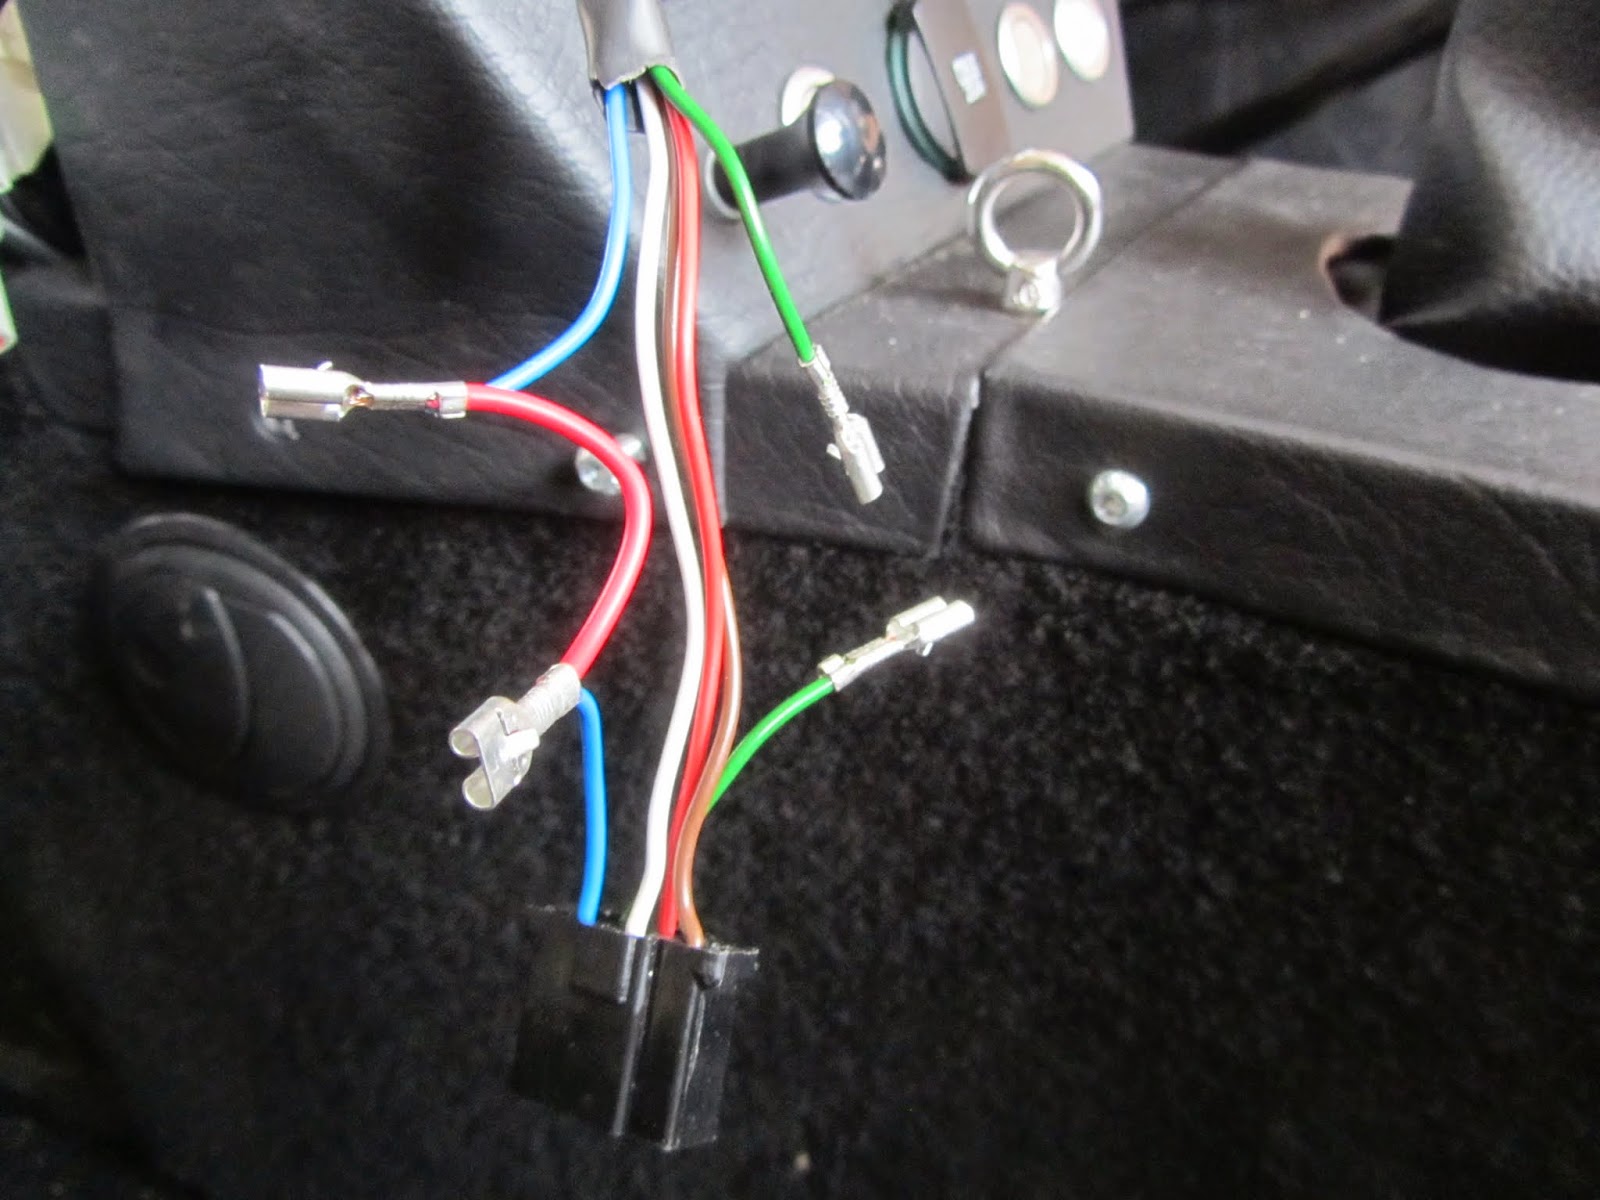
...and the relatively simple loom insertion into the blue (12v) and green (slow wipe) lines. The trailing black line goes to the momentary switch to earth.

The relay will tuck securely next to the wiper motor.

Update -
My stalks didn't have an appropriate momentary switch, so I went for the Aux panel: a push button installed under the existing DRL & Fog light buttons in a position I can find with gloves on and without looking - so should be ideal.

Update - later moved the switch onto the steering wheel.

Hindsight - Should have broken the white line instead of green, that would mean the flick wipe would not work when the stalk is fully off, and only work when the stalk was in the park position. Currently any time ignition is on the flick wipe button will activate the wipers - but only park if the stalk is one click up.

Saturday 20 December 2014

Wet Feet - windscreen run-off fix

I dont mind my top half getting wet, but wet feet and damp floor is not ideal.

I cut my bottom windscreen rubber slightly short, combine that with the oval adjustment holes for the windscreen mounts mean rain runs down the scuttle through the hole and drips on my feet.

I made some gaskets out of an off-cut of window rubber surround cut to size using the window uprights as templates. The holes in the rubber seal drilled 1mm smaller than the bolts & a lightly greased surface will hopefully make it watertight:

I should have cut the top edge simply straight; it will probably be ok though - any water build up in the middle of the triangle will just run out the side.

Saturday 15 November 2014

Brands Hatch - report

Just back from a long day at Brands Hatch...

Garage 18

Total Kitcar live was a one day track focused show, allowing anyone to signup and ride with the various marques present as a passenger.

I originally was attending as a static display example at the invitation of GBS, but the opportunity arose to also take the car around the track too; baptism of fire - wet track with no experience.

Garage 18 - The GBS racer was present, but on slicks and not going out; my motor an example of a road targeted customer build:

Some really nice Ford escorts adapted for racing next door, No idea what all the cars were, a good mixture, bike engined, replica, 3 wheeler, single seater, even an electric trike, but I don't think the wet conditions suited his vehicle.

Spent the morning chatting to KentZero from GBSOwnersclub and potential customers/interested parties including 2-3 people who had seen the blog and/or were in the process of looking at options or building their own cars.


On-Track

Fantastic to get on Brands Hatch as a driver

The track session; starting with sign in, the nominal drivers instruction then 2-3 sighting laps following the safety car; all very well organised. Relaxed atmosphere since the focus was on showing off the various marques in action. Special note made during the briefing informing all drivers the most usual place  to spin is after Druids - which of course was phropetic!

My first outing at my own pace with my wife in in the passenger seat: was fine for the first corner; - Paddock hill bend looks steep as a spectator - but even steeper from inside the car with adverse camber, then straight line with a right kink up to Druids, and I think I was the first spinner! - a little too much right foot coming out of the corner, back end came around and a short detour sideways onto the grass!

Attempt to save it, steer into the corner - no luck - grass is more slippery than the damp track...

No Damage though - so a quick check, clean up and back out half a dozen times over the day with my wife and a some prospective/interested GBS customers. Cannot say I was quick around Druids, but could give it some speed around 70mph down the straights and sort-of getting the hang of Surtees and McLaren..

Paddock is cool in a fatalistic sort of way, needs setting up on the straight, and then trying to smoothly drive through it and get onto the uphill straight before running out of road width.

Lots of practice on the blue flags and letting faster cars past; hopefully I didn't get in the way too much.
 

In the background on this picture from TKC Magazine's Facebook pageDRLs nicely bright!

My dash camera has a built in GPS which can extract basic speed telemetary. The graph is speed vertical with time left to right. It shows each outing onto the track as a cluster of verticals, laps marked by the significant low points which is me taking it very easy through the Druid's hairpin.

The horizontal axis is not continuous between outings; i.e. we had significant breaks between the 5 drives around - avoiding the worst of the weather if nothing else.

Still in one piece and luckier than some - I was not the only spinner, and one unlucky Cobra replica ended up losing a headlight and re-modelling a wing as it spun on the start finish straight hitting the pit-wall resulting in a red flag for a while.


All in all a good day - 7.30 am start at the track, and good time to drive, wander and look at other cars and watch the general goings on. Mostly dry/damp but no real clear sky to let the track dry off and one total downpour for good measure.

The drive home felt so much more stable than the track; I think a mixture of dry conditions, instruction and setup check will help before venturing off the road again.

You've got to have a go though!

A few videos with more in-car shots to follow in due course.

Saturday 8 November 2014

Totalkitcar Live 2014 @ Brands Hatch


Totalkitcar Live is running at Brands Hatch on the 15th November. GBS invited me to attend and display my Zero with them in Garage 18

Various cars will be running the Indy circuit during the day and taking passengers, I might get the chance to get on the track too...

Compression

Last of the checks post the overheat;

Compression test is giving me around 175psi on each cylinder; no obvious low pressure cylinders so I think that is a good sign.

Spark plugs look clean too: for reference after 5,300 miles - in cylinder order 1,2,3,4:

Running the car up to temperature before the compression test also allowed a check on the coolant - nothing out of the overflow - so the new cap seal work has made some difference. Also procured a 20psi cap and comparing with this I think my original kit one is more like 7psi anyway; the new 20psi cap has the same issue though with the thermostat casting - it won't quite reach the shelf inside and will need the same extra gasket mod.

I'm going to continue running the lower pressure cap for now, need some more runs to test before I change things again.

Monday 3 November 2014

Coolant filler cap seals

Thinking through, I'm not convinced the coolant filler cap is doing its job.

Already confirmed - by pinching the top lugs on the cap it will hold 20psi positive pressure (when cold) and I don't have any leaks anywhere on the coolant system.

The cooling is behaving itself at this point - as per the first 4,500 miles - maintaining engine temp but finding a coolant level approx. at the bottom of the water rail.

Issue

I don't believe the cap bottom seal is pressed hard against the shelf/lower casting edge; thus not effectively holding the pressure the cap is rated at, my guess its not holding any pressure hence losing coolant out the overflow just through circulation and the resulting low settle point.

- Cap top seal lets the system suck back coolant from the overflow when cooling down.
- Cap bottom/sprung seal holds pressure in the system before releasing at pre-determined 20psi and allowing overflow.

Experiment

Pending finding a long reach cap, I made a gasket cut from 1-2mm rubber which sits under the bottom gasket while still allowing free movement of the suck back disc. (I was going to sit the ring on the casting but tucking it under the cap gasket is a better idea from Foxtransit on GBSOwnersclub):

Now installing the cap requires 1-2mm downward pressure, depressing the internal spring and pushing the inner seal against the 'shelf' inside the casting, followed by the normal extra pressure to fully rotate the cap into its locked position: (thats fluorescent antifreeze appearing opaque due to the camera flash, not rust, in the coolant)

Testing may have to wait for the weekend, November seems to have turned up with rain and cold this end of the country!

Sunday 2 November 2014

Alternator earth

Minor job today, based on a conversation I had on the GBS run out

The alternator mounting brackets in my kit were all powder coat & the alternator needs a good earth through its body for best operation. While I dont particularly have a problem I decided to perform a little remedial work, more engine to chassis earth lines can only do good!

Without dismantling everything to clean powder coat off the most straightforward was a couple of earth lines: From the top alternator bracket mounting bolt via a spare M8 threaded hole on the block, with appropriately shortened bolt, and to the engine mount on the chassis.

Raining - so no chance for a run out to test today :(

Cleared up - when for a 30 mile test run, water temp holding stable, volts now up between 0.5-1v at tick over & wiper slow/park now working. Seems like the extra earth helped, I think next step is to check all the loom earth points and eke out every last drop of juice from the alternator.

Saturday 1 November 2014

Puller replaced with Pusher Fan

The original puller fan, I thought at the time would be more discrete behind the radiator - with hindsight the compromise in size to fit there was probably a bad idea..

(The more I look at this picture the more I'm making a mental note to tidy up the wiring in there - nothing particularly wrong, just just looks messy :( )

Reverting to the original fan that came with the kit, I think its off a tin top of some sort. There is a lip sits in the bottom edge of the radiator, then requires 4x bespoke brackets made to hold it securely to the existing mounting points. This has has got to be better than the old fan which was mounted directly to/through the matrix:

Engine run up to temp once more to check air direction is correct & a clean up means its not really visible through the nose grille anyway; sometimes I just have to learn the hard way.

Cooling system re-visit

After the GBS runout I had some overheating problems. My current thinking is it was primarily down to the cooling system finding a hot shortcut through the heater matrix rather than the radiator. I ran the whole weekend with the heater valve wide open, and once closed (and refilled with coolant) the car was behaving pretty much like it ever did.

Coolant checked with a CO2 detector kit and nothing showed up - so touch wood I have avoided a re-build and head gasket issue - but time will tell.

Today was just checking the coolant circuit for leaks by pressurising the system & refilling. 

My patent leak finder kit consisting an off-cut of pipe with self amalgamating tape to make a seal and a foot pump to add pressure:

The pressure cap opens around 20psi, so pressurised the system to the same point and listened/looked for leaks: (cap was on when testing)

Two leaks found - a couple of weeps from the heater take off points, needing a tweak with a spanner, and a major one from the filler cap seal. Taking care to avoid ingress of dirt with some masking tape: I sanded the top of the filler casting flat with a wood block wrapped in sandpaper, just enough to give a completely flat surface. Adjusted the cap by giving its tabs a little pinch with the pliers and cleaned up the rubber seals:

Progressed from barely holding any pressure to now stably holding 20psi which seems promising; admittedly its a cold test & only checks the external cap seal not the internal pressure spring, so there might be some more issues lurking and/or when everything is hot.

Double checked the overflow was connected correctly to the syphon by sucking on the free end and got a taste of rusty/slightly antifreeze water - so thats fine.

Maintenance

Refilled the car with at 50% antifreeze to water mix, ran it to temp and now waiting for it to completely cool down overnight before topping up again & hopefully getting rid of air locks. Best advice from Simon @ GBS is the coolant should sit level with the inside/pressure seal on the cap. time will tell if I can achieve that.

Then - realised I forgot to install the restriction valve in the heater lines - bother - I'll worry about that later.

Friday 31 October 2014

Wing mirror refurb.

My wing mirrors were getting a little worse for wear, paint bubbling off and making the car look scruffy. The paint seemed to have never been applied properly from new & only took a little sanding to take it completely back to bare metal.

The mounting arms were fine - just the mirror units themselves with the problem.

Resprayed 3-4 coats of satin black 'direct to rust' hammerite, we'll see if that wears any better:

Update - It lasted until summer 2017 so much better than the original paint, and even then only breaking down in small areas from stone chips. +1 for Hammerite direct to rust spray.

Wednesday 8 October 2014

Autumn driving...

Any excuse to get in the car for a drive;

September: Donnington & SKCC

Donington Kit Car show a couple of weeks back; Good show + on the same weekend as a race day + an excellent F1 car collection on site. This was also the excuse for a run back through central London in the sunshine. I also met a few of the group from the Scotland run earlier in the year.

..then SKCC drive with 40 cars to the Amberley Heritage museum; Convoy from the cafe meet to the museum was great to be a part of, and the weather was with us again for a relaxed wander around - its 80s claim to fame being the location for the external shots for  Main Strike Mine in the Bond movie A View to a Kill.

October: GBS Run out

..and last weekend its back up the M11, A1 towards Newark - GBS have organised a Sunday run out. While its a fair way to drive - any excuse for the countryside further north has to be taken;

Missed the worst of the weather and 'toughing it out' in a local B&B with Pub down the road the night before - sorted :)

GBS Write up is here, Facebook album here, and a sample of photos, including me smiling again - don't know what does it! :)


All Zeros but all slightly different depending on the builder's preference:


80 or so miles of country roads and high speed convoy:


Hats off to the photographer laying in the ditch to get this shot as we all went past...


Good run, although I did cook the engine slightly and now have some excuses to tinker & upgrade the cooling system.

A few hundred more miles on the clock with the round trip to Nottingham, ODO is now around 5,200 miles since build.