Showing posts with label roof. Show all posts

Friday, 18 September 2015

Newhaven Ferry - France and the Road south

Ferry vs. Tunnel

While I was planning the trip in August there were issues with the Channel Tunnel either being blockaded or closed due to migrant activity, so decided to take the Newhaven to Dieppe ferry instead. While the crossing itself is slower, the prices are lower and it drops me west of Paris all set for the first leg south.
An overnight stop near the Ferry terminal reduced the risk of traffic affecting me getting there on time. 10:00 sailing means 08:00 arrival to check in. Overnight rain, then again in the morning meant I was togged up in waterproof kit & still soaking wet before the off:

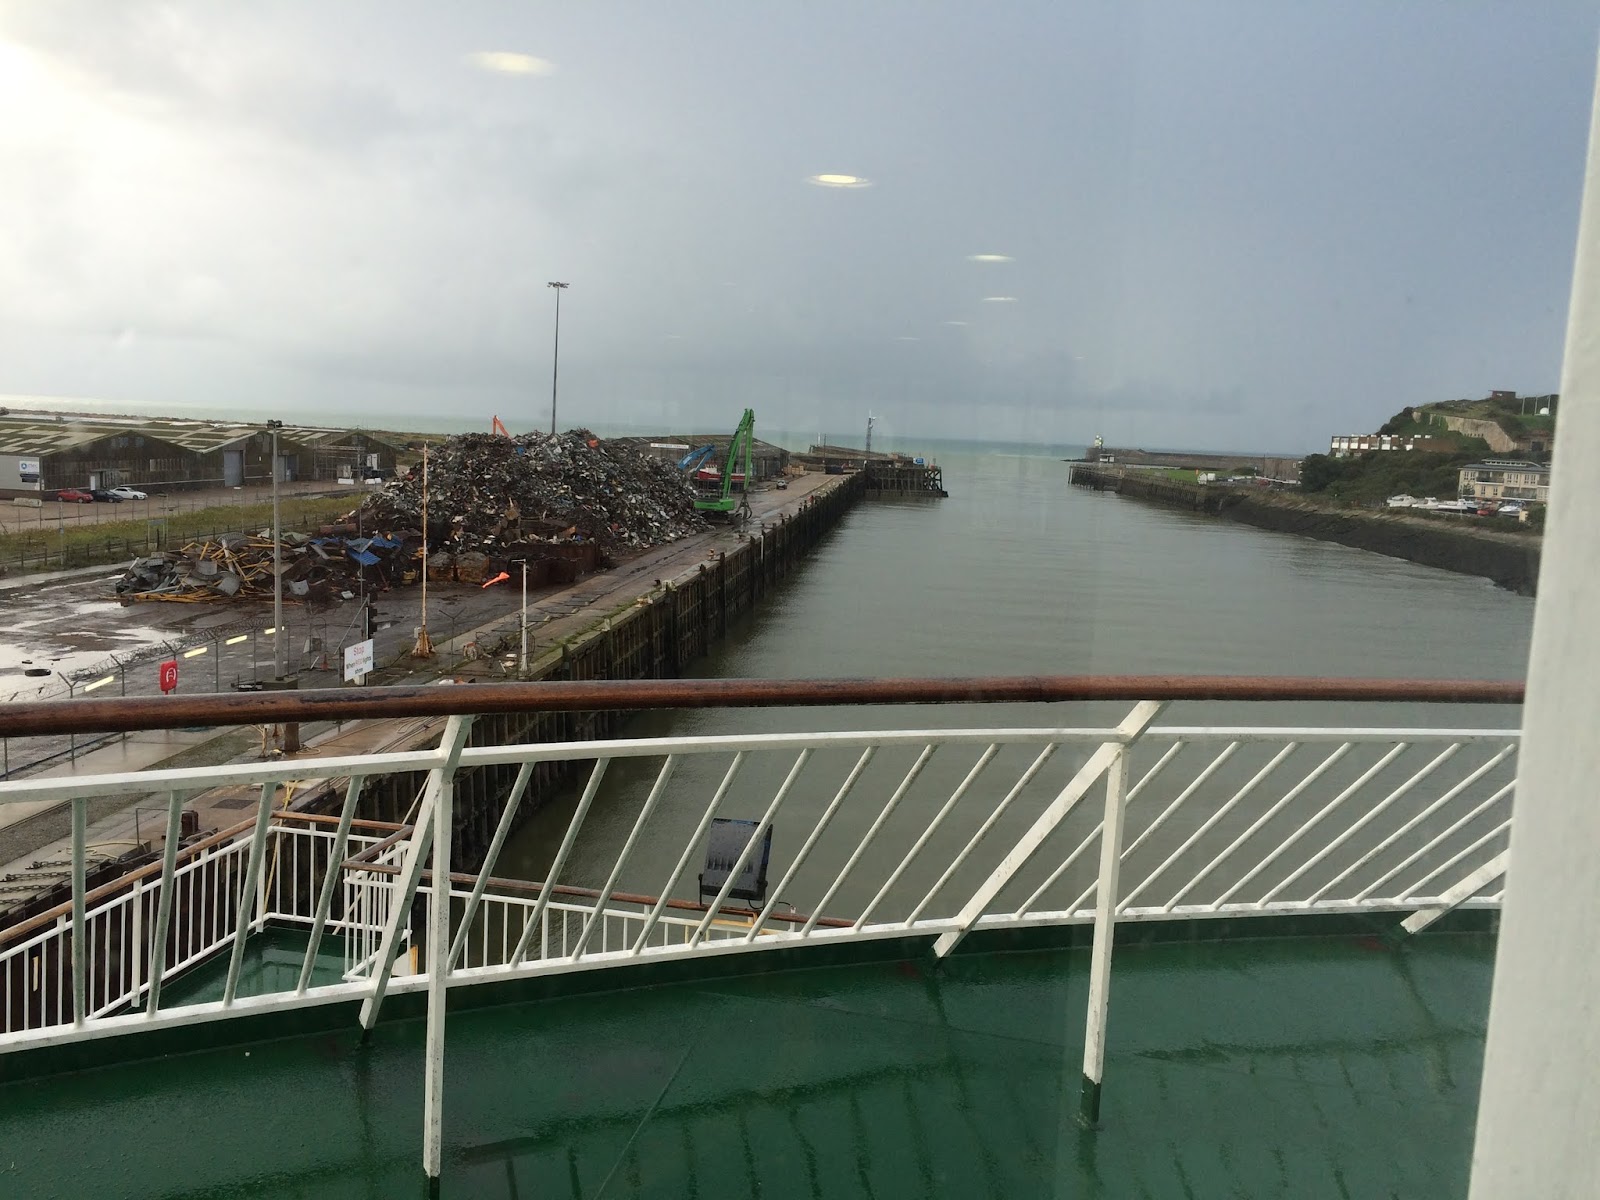
Soon relaxed again though and dried out on board; approx. 3 hour sailing to watch the world go by, eat, read and take bracing walks on deck...

My plans were a drive for 1000 miles in the open top car I built in my garage; there were braver/dafter? than me on the ferry; a group of 20+ cyclists who apparently cycled down from Liverpool; don't know their final destination.


Towards Anet

The ferry arrived at Dieppe around 15:00, so back on the road around 16:00 for a 100 mile run to Anet. Nothing of note, other than the weather - stair-rods near Rouen and at one point as much water on the inside of the windscreen as the outside. 

Design of my Zero seating position means I can't quite reach the windscreen to mop it; so with wipers going full tilt, inside misting up and goggles wet too it was getting a bit hairy...
All safe to Anet early evening though and stopped at a motel type hotel on the edge of town. 20 minute walk back into town for dinner to stretch my legs, Circus tents visible in the distance - I didn't drop in though.


The only time the new roof was up was for overnight waterproofing; just means I start dry in the morning:

The Hotelier said the weather should get drier south of the Loire... we shall see...

Saturday, 5 September 2015

Half Hood - the final version

Incremental improvements on the soft top - this time with heavier fabric and a cleaner design with no supporting straps & minimal stitching in the roof section which should help it stay water tight. Every holding pin or line of stitching is a leak in waiting.

Materials

Fabric is selected to take a press seam (on the non PU lined side), which makes assembly, marking out and hemming easier, also still just light enough to machine a double thickness on the family heirloom 60s Singer Sewing machine. 1000 D PU Black Canvas from Forest Fabrics on eBay. Thread is 40s Bonded nylon - again just light enough that the sewing machine can handle it.

Design

I re-used the hood frame, this time instead of a simple pocket at the front edge to receive it the fabric is riveted on. The rivets are along the top edge facing upwards out of sight.

No pattern really; just marking up the shape on the car with tailors chalk - single pleat at the rear corners to follow the roll bar shape and similar tucked into the hood frame at the front.

Stitching detail in red thread simplified the shape of the front corner allows a simple hem along the now straight bottom edge.  Lift the dot fastenings used on the car end of the straps, while the do leave an exposed peg when not in use (will not get through IVA) - they cannot come off/undone unless they are pulled in a specific direction.

Rear side straps at an angle to try and pull the bottom edge of the side taught as well as down, these retain the existing velcro attachment on the drivers side so it can be released while sitting and help get in/out.

Bias binding tape along the back gives a straightforward  tidy result and avoids the need to try and hem a curve. The curve shape drawn on after mocking up the rear straps to ensure enough tension is maintained in the centre of the roof section.

Tuesday, 22 April 2014

Inverness to Dunfermline - water of life

Heading east towards Nairn on B roads then south on the A939 Military road towards Whisky country. Very different landscape on this section, moorlands and tree lined roads.


Cars

  • Andrew - Zero
  • Andy - Zero
  • Dan - SSC Stylus
  • Ian - Zero
  • John - 2B
  • Keith - MK
  • Peter - 2B
  • Richard(me) - Zero
  • Rob - SSC Stylus
  • Simon - 2B
  • Stuart - 2B

Schedule:

  • Start: Inverness
  • Finish: Dunfermline
  • Driving Time: 4 hours 34 minutes
  • Miles: 173

Route

  • Premier Inn Inverness - Start
  • Cawdor - waypoint
  • Grantown-on-Spey - waypoint
  • The Glenlivet - lunch
  • Braemar - waypoint
  • Blairgowrie - waypoint
  • Premier Inn Dunfermline - overnight


A little timid at first to get the feel of the car on a damp road...

Cool bridge over the Spey at 8 minutes 29 seconds


The Glenlivet

I'm not a Whisky drinker, however this was worth a visit & tour; no pictures inside - but imagine huge vats of hops, liquer & ultimately whiskey distilling in six 20' tall stills - impressive. Impressive smell entering the distillery too - like Christmas cake!

The free tour included free tasters too...


Time for the obligatory car shoot, some lunch, and the weather to go from merky to full on raining; roof up for the first time...

Military Road South

One of my favourite runs, I ended up with more clear road, hints of snow capped hills and as the road progresses it winds in three dimensions - not particularly fast & the camera doesn't pick up on the spray from the wheels, but great fun to drive.


I took the roof off soon after this video & with hat on made our way south to Dunfermline. The last part via motorway and wettest part of the trip - getting out of the car I was buzzing - the whole process and level of concentration & focus required in the very wet was exhilarating!

Friday, 7 March 2014

Tonneau adjustment, Roof test drive

Tonneau

I noticed in the wing mirror of the camera test video, the flap over the tonneau zip was being flung about - so a quick adjustment with a length of velcro to hold it down:

Testing

Took the car around the block this evening to test:

  • Roof:  Front edge is fine, well and truly fastened to the windscreen; just need to finish the back edge with side straps and some more webbing to hold the sides taught when stationary.
  • Tonneau: Perfect, the zip flap doesn't flap anymore.
Progress.

Sunday, 2 March 2014

Half Hood Mk2

Another try at the half hood & this time a version which will actually see the road...

I'm using my most recent windscreen hood frame at the front with a simple wide hem to contain it & an opening at one end so I can remove it if need be. The frame is stiff enough (subject to road testing) to stop the middle lifting with either end held securely to the windscreen uprights.

The front is held down with a lift-the-dot fastener either side of the windscreen; while marking up I just pushed the stud through the fabric:

Nearside was cut first:

Underneath I'm cross bracing to the hold down straps at the rear (reason later) and the side edges have webbing sewn in to re-enforce them:

This is the result, all edges have bias tape to neaten them which makes a neat job and easier than hemming. The fabric I'm using doesn't take a crease & you can't iron it heavily due to the waterproof backing. There are pleats at the rear corners to fit over the roll bar - otherwise its completely flat - just takes a lot of trial and error to get the shape right.

In situ with bracing tensioned up. The rear attachment points are again a couple of lift-the-dot fasteners on the back panel which I had installed on the first roof attempt which allow the straps to come up through the boot cover joints:


The reason for cross bracing and not just square bracing is so the side can be rolled back slightly making entry/exit a little easier. There will be another strap to hold this down in due course:

Its the best attempt so far..    I'm much happier with the windscreen attachment on this version, just the rear corner straps to make (not today) and I can test it. I'm expecting the whole thing to balloon up  when the car is moving due to the low pressure so not overly worried by the sagging at the sides.

If it doesn't work I can always add some more tension straps..

... or just get wet!

Sunday, 29 December 2013

Hood frame

Over the Christmas break I did a little work on the roof frame but forgot to blog - its not finished - and another pause before I go further.

The pivots either side are in place, spring side is locked in place and tensions the spring, the other end is free to rotate:

The roller does spin on its spring as required:

The theory being it can be moved into place while inside the car unfurling the roof as it goes:

All well and good - just still not decided on the windscreen mounting method...  the old sheet I was using as template material was not working - far too stretchy and not really letting me work out the shape of fabric required.

Still needs some more thought.

Update - discarded this idea, it's just too complicated and not really worth it compared with a simple surrey top or a more traditional roof frame. For now I'm sticking with a surrey top fastened to the windscreen frame and over the roll bar.

Sunday, 15 December 2013

California style self rolling roof

Too much reading of Slomove's Birkini, His half hood is more for the California sun than rain protection, however - looked like an interesting concept so, not having much luck with my First hood design, I thought I would try and re-create it.

The concept is to have a hood which can be opened & closed while in the car, utilising a roller spring (roller blind) as the central support to furl and unfurl the roof fabric. No idea if it will work really...

First up the roller blind mechanism, I got one with nylon/plastic ends so they are easily dismantled  & modified - but possibly also slightly weaker? One end free wheels, the other larger end is locked in place & tensions the spring. I don't need the automatic position locking so the ball bearing & associated mechanism can all go:

Paired down the locking end with my Dremel to end up with the hexagonal nut which will slide inside the struts, reduced the height of one brass bush & reduced the internal height of the cage which holds the roll tube - the last part is to expose more of the central pivot shaft:

The locking end now will slide inside the support tube but will stop the shaft rotating. Offerred up the entire end components to check, may need some adjustment but looks ok:

The other end is simpler, this just free wheels; so modified to take an M6 bolt through the centre and will be simply bolted loosely to the other tube: 

Next up I wanted to try improve on Slomove's design a little and put a dog leg bend in the support tubes, this should ensure they don't impact comfort, hitting my shoulder, when the roof is open. A little prototyping with a coat-hanger to get the right shape then on to some 16mm aluminium tubes.

A RhoCar member kindly offered use of his pipe bender, I was impatient though, bought a spring bender and had a go myself. The bends are not perfect & not strictly identical, but will do the job:

When closed the struct sits back along the roll bar & away from the passenger shoulder. When open the top point reaches exactly half way along the roof line:

Few more parts ordered from Ebay & the next task is to work out exactly where the pivot point will be avoiding the internal structure in the side panels & drill some mounting holes. I'm intending to mount with a couple of rivnuts in the side panel and a threaded knob of some sort to make everything removable.

Update - This never worked properly, so I have not used it; its much simpler to create/buy a surrey/half hood simply strung between the roll bar and top of the windscreen.

Friday, 18 October 2013

Hood corners - test

Just a little time on the hood, I tried out the paper template on an off-cut to see how it behaves:

It seems to be ok - i.e. reasonably neat job and allows the fabric to sit flat on the front of the hood frame as well as curve around the corner without losing shape; easier said than done though - the fabric I'm using has a plastic inner for waterproofing which makes it challenging to press & pleat into shape:

A little more thought needed on the edging then I'm going to have another go at the full hood.

Sunday, 6 October 2013

Hood frame - Mk 2


I'm trying something different for the hood to windscreen attachment. My previous version would have lifted in the centre too easily so this U channel version should avoid that. Its just stock aluminium channel from Wickes:

Notching the aluminium will take away strength but should not affect what I need - i.e. fore/aft hold. The ends either side will be held down to the windscreen pillars:

That fits fine - possibly too tight a fit since it will have the roof material wrapped over it - it does seem to have more potential than the previous design:

A little work to find out the shape of the corners - I really want a single piece of fabric over the top, so used some paper templates to understand how the corners might work. This looks reasonable, a couple of pleats then its just straight backwards:

Unfolding shows how much over each side:

I'll think on it for a while before actually cutting cloth...