Monday, 17 August 2015

Amplirider - radio headphone amplifier

Upgrading the headphone circuit. My previous attempt had a lot of noise, interference buzz/noise, at speed, probably because it needed to use the car chassis as the common ground.

The new approach is using a little headphone amplifier from a Canadian firm - the Amplirider. It's designed for motorcycles; takes a 12v feed, draws less than 0.2Amps with up to 3 line level inputs and one output.

All the reviews I have seen on various motoring and other forums on this, and its brother PA2V2, are positive with great support from the guy that builds them; so thought I'd give it a try.

Wiring

My Blaupunkt Melbourne head unit drives its line out pins as a pre-amp still controlled by its own volume knob. All accessible from the Mini-ISO C connector: it has a 12v feed, common ground alongside the stereo line levels. So relatively simple wiring on the input side - the Amp will simply piggy back on this port.

Doing a little reading on ground loops - This amplifier seems to have built in isolation on the power lines, so no issues.


The Amplirider will act as power-amp to drive headphones/helmet speaker levels. It's volume will be left somewhere around 3/4 to max.

Installation

The plan is to glue the amp in place on top of the head unit with a double sided sticky pad, no need for access to its volume knob in normal use which will be hidden somewhere around the side out of sight.

Headphone jacks

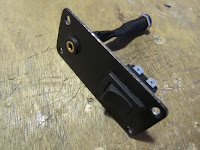
The amp output is wired to the existing jack panel between the seats.
The rear speakers retain their switch to isolate them when using only using headphones.
Much nicer sound and higher distortion free volume in static tests with and without the engine running; actually got carried away testing  & listening to various tracks/radio...

Saturday, 15 August 2015

Upgrade fuel lines

I noticed some surface cracking on the fuel line from the HP pump to fuel rail; no leaks, however on one of the hot days on the Scotland run I also had under bonnet fuel smells & the same fuel smell on my hands after touching the outside of the pipe.

Time for a change.

The original flexible fuel pipes came with the kit and spec'd at SAE 100R6 - this appears fine for unpressurised/fuel type parameters - but possibly not ideal in terms of fuel permeation and from my reading not really the right spec for any fuel injection system. All the pipes coming off showed signs of the outer cracking, inside looked fine to the eye - so possibly it was the only HP line which was suffering from permeability?

Researched fuel hose specs. seems like SAE J30R9 is a better bet for an injection system - so decided to replace the lot.  

Reasonably straightforward job using the old ones for patterns; the biggest challenge being working space around the built up engine & rear suspension area, and getting the old ones out without spilling fuel everywhere.

Re routed the HP Pump to fuel rail line to give it a larger radius bend while I was at it.

Clearly marked to the J30R9 standard


I changed the rear end flexible lines in a similar way & took the opportunity to replace the fuel filter while I was at it. 9k miles left the inside of the old one black in the bottom half/third. I guess thats either gravity dropping the muck to the bottom, or an airlock in the filter.

At the very least peace of mind.

Useful reference: http://www.volksbolts.com/faq/fuelhose.htm

Wednesday, 5 August 2015

Wheel alignment

I found a relatively local firm in Canterbury  Treadmark Tyres, various forum reviews seemed positive & they had a great 'turn up and we can help' attitude over the phone.

They use  an automated laser alignment/measuring system from John Bean - large 'T' style 'eye' which locates and measures targets on each wheel. A fay cry from the manual process I was using previously & a lot less hassle, the whole exercise came to under £40 even with camber adjustment.


Before and after settings pictured.
Only the front is adjustable, rear end fixed by the suspension arm geometry.

Not a million miles out beforehand but she did run a little lighter on the steering home.

Do need to check the diagram for rear right, i.e. the wheel image shows +ve camber, while the measured number is showing -ve camber. The back isn't adjustable anyway so not too much of a concern - I suspect they didn't even bother measuring it due to lack of adjustment.

Saturday, 1 August 2015

Minor maintenance - suspension & brake adjustment


A little tinkering @ 8.8k miles:
  • Spare wheel swapped to nearside rear to even tread wear;
  • Rear springs adjusted 3/4 of a turn higher since the back has settled a little since build;
  • Front calliper slider bolts removed, copper greased and replaced. I should have paid this more attention on the original build - I had assumed I could just bolt on the recon callipers, but while clean/new etc the sliders did not appear to be greased.

... and, of course, a 'test' run !

Friday, 17 July 2015

Barcelona - initial thoughts

Attending a conference for work in Barcelona later in the year, so seriously thinking about driving down in the Zero.

The schedule will be something like: 3 days south, 3 days at the conference, 3 days north; approx. 900 miles each way.

The Route through France pretty much decided, still thinking about the Pyrenees...
I'll probably work out some towns as waypoints and wing it in between.

...a trip badge is a must have!
Helps keep the project momentum going, the font called 'Matador' which seems appropriate.


On the car...

...and SatNav splash screen...


Pre trip to do list:

  1. Learn basic Spanish :)
  2. New more robust half hood
  3. Adjust headphone circuit
  4. Get tracking laser aligned
  5. ...

Friday, 3 July 2015

Passenger Foot Rest

Long runs, passenger side, while the seat is comfy you cant touch the end of the footwell and brace your feet against anything.

Modded an off the shelf rally co-driver foot rest to fit using a cardboard template for the floor space, to measure foot position, and another to work out the cutouts to miss footweel chassis tubes. A strip of velcro under the bottom front edge fastens it to the floor carpet and will leave it removable to adjust if need be.

Its not going anywhere: bottom front edge velcro to the carpet, bottom back edge butts against the chassis tube, left edge against the side chassis tube and top corners pushed against the side panels.

Tidy, wife happy, job done.

Sunday, 21 June 2015

Silencer bracket - padding

Since the build I had used exhaust wrap around the tailpipe to cushion it & the silencer against the rear bracket.
I have stock GBS silencer with Cat and the bracketry.

Heat wrap generally lasted about 500 miles or so before looking like the left of this picture - its not so much heat damage as the silencer needing to move and wearing through it.

I selected two materials for an oven test to gas mark 8/220ºc (while my wife was out :) ). Rubber windscreen surround & an off-cut of silicone cooling system pipe.

The windscreen rubber bubbled and perished within about 30 seconds, the silicone pipe didn't seem to mind at all even after 5-10 minutes and maintained its rubber properties; some question over its abrasion proof properties though.

However...
After some chat online, Paul recommended using an off-cut of fuel pipe.
I tried this for the run out to Castle Combe this weekend, approx. 300 miles round trip of mixed driving.

Looks like a contender, the picture is after 300 miles - mostly abrasion marks either side and some evidence of heat getting to it - but still in good condition - certainly better than using exhaust wrap; so this stays on until I find something better.

I just cut the length to sit over the bracket itself, over the top is the normal spring clip.

Update - Added a short length of exhaust wrap over the top, under the spring too, just stops excessive rattle when driving.

Castle Combe - Classic, Kit & Retro

Castle Combe was an excuse for a run out really, something to wander round at the far end and then a good starting point for some proper A road driving back again...

Out

Run out was the 'get you there route' motorways and Friday evening traffic jams; But found a good pub in The Crown at Yatton Keynall, with slightly eccentric but friendly ways, for an overnight stop.

Castle Combe


Bob had already setup the day before, tea on tap too! 
Not a bad showing of 7 style kits; We weren't exactly in the centre of the display area, but none the less on a through route from one carpark, so a reasonable amount of passing visitors and interest.


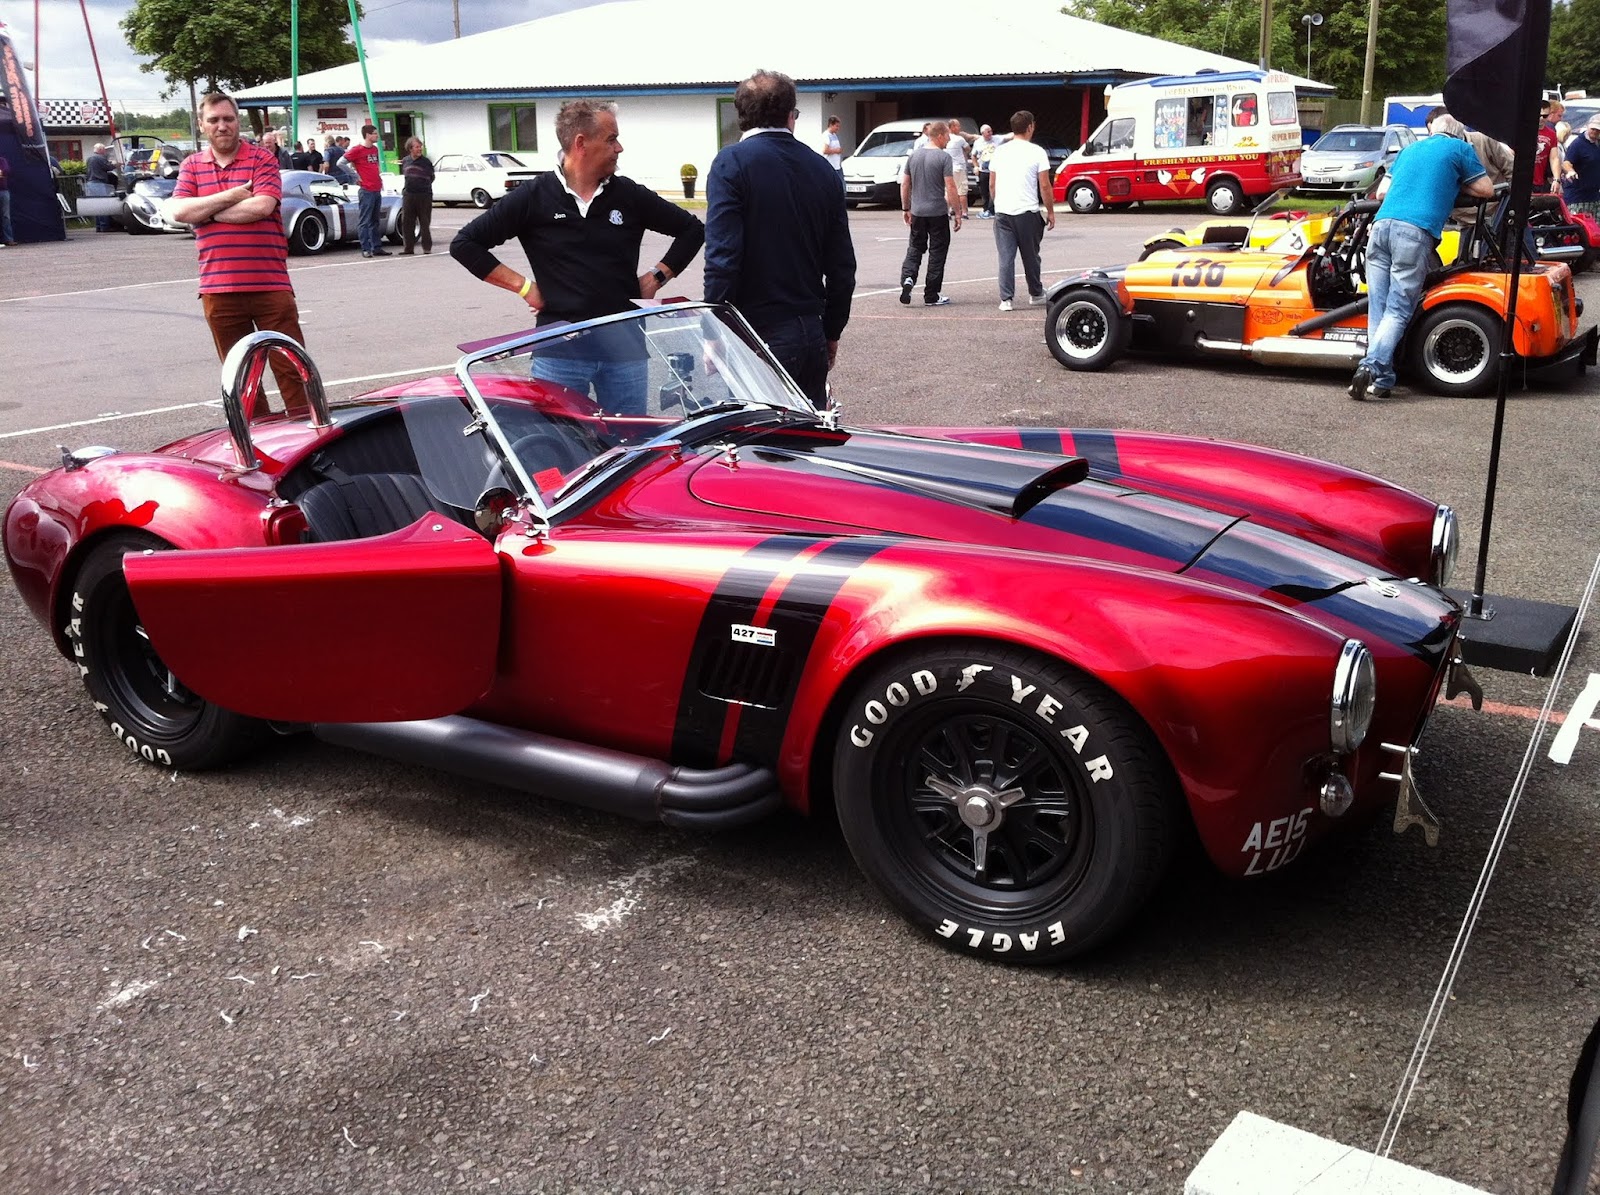
My wife's head turned by a brand new Cobra replica, very impressive paintwork and finish:


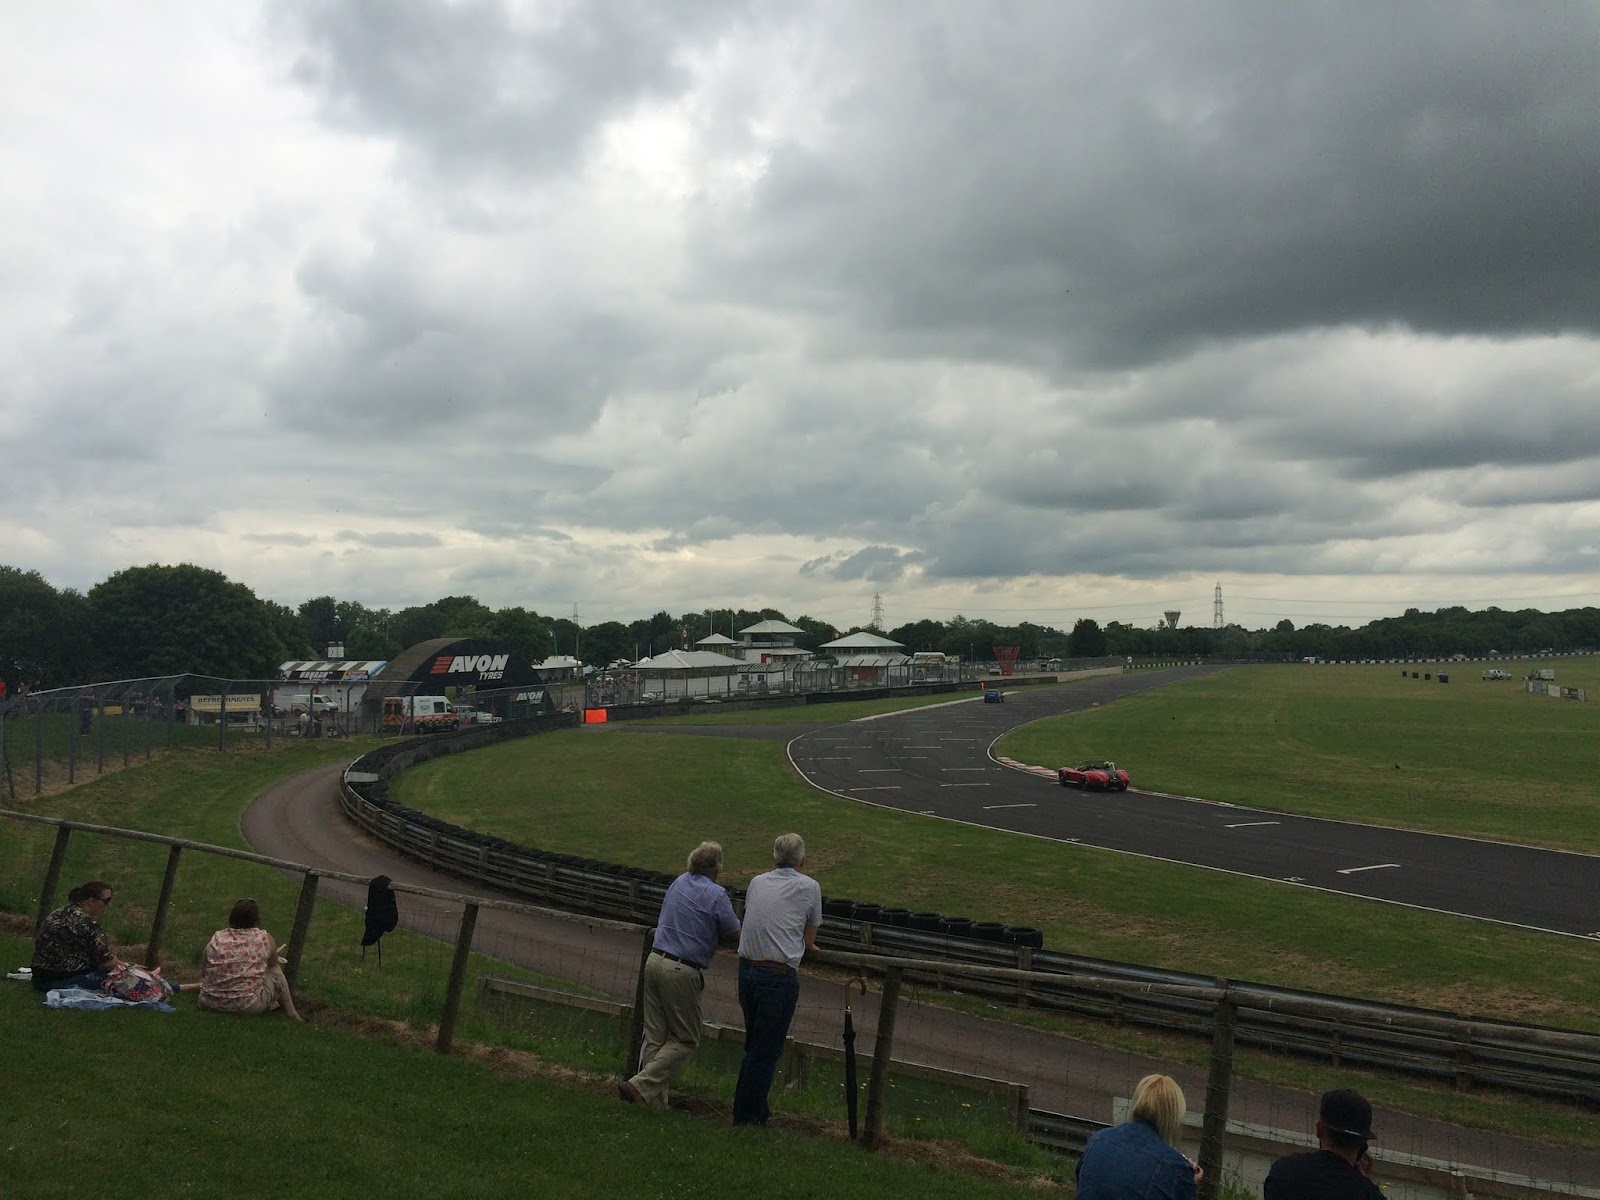
Pictures look a little gloomy, but overall the weather was very hot, rain limited to literally a few drops around mid morning/lunchtime; and plenty of mad men in motors on the track: The old ford escorts (proper modern classics) were giving it some around the final corner; + this viewpoint you could see around half the entire circuit.

Watching was enough for me, your mixture on the track of those who knew what they were doing - smooth driving, less tyre squeal, and those either learning or just out for a laugh decidedly sideways around this fast corner, and/or nearly losing it trying to overtake on the inside...

There's the Cobra again, lovely grumbly low note engine...

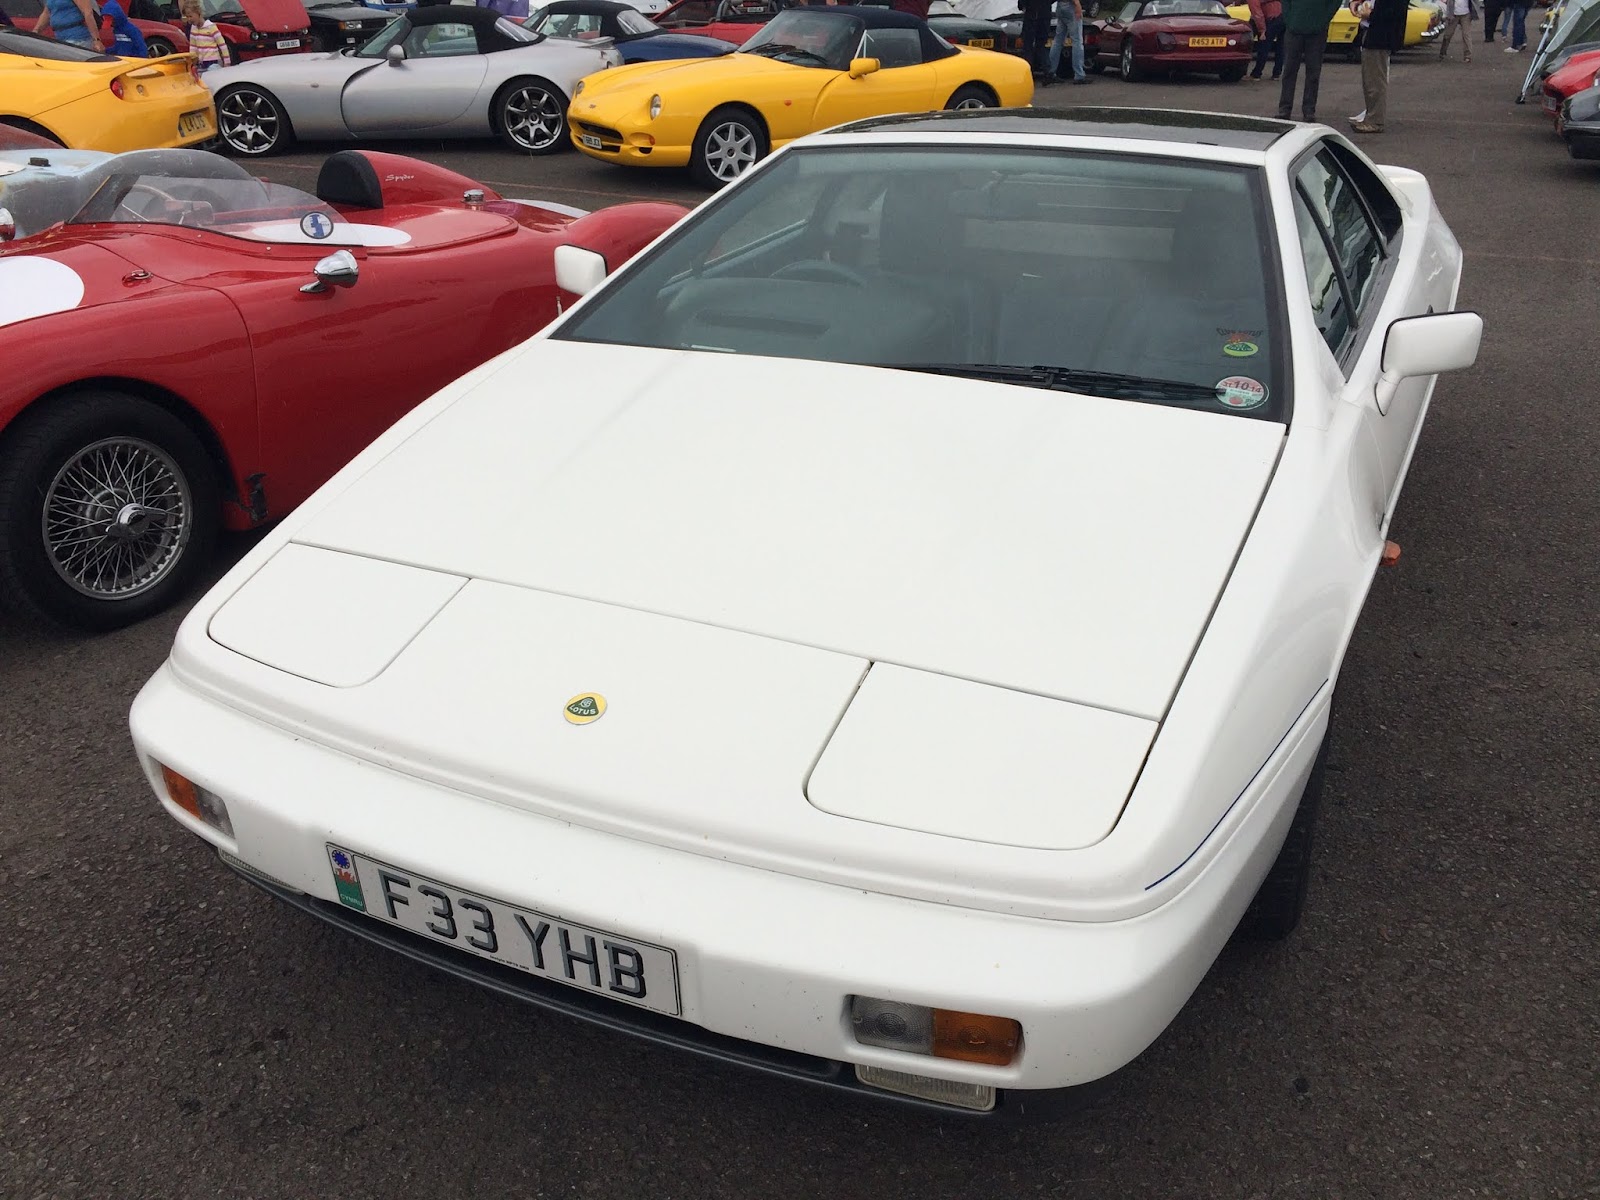
Spied a few Lotus examples...


Return 

Left around lunchtime, stopped at the recommended Bell Inn in round the corner. Fantastic pub, huge food portions!

For some reason they had a Snow Trak in the yard? Owner said it was for sale too - but you wonder how many snowdrifts there are in this part of the world... ;)

Presumably its just as good put to use as a tractor on soft ground.


Meandered past StoneHenge, Winchester and towards my parents house in Surrey. The trick with satnav is give it the next waypoint then ask it for an alternative route - tends to stop it selecting the main roads; some great A roads across Salisbury plain.

Short sleeves weather all the way back!

Day before the Summer solstice; passed some nice looking bohemian/hippy hitch hikers part way presumably on their way to Stone Henge; no spare seats in the Zero so had to wave and pass them by.

Dropped in at my parents to break the journey and then the last leg from Chelsham to Maidstone very wet: stair rods wet. The second time only for the roof up on the car - we still go soaked and more than a few times the car felt a little squirrelly on the road.

A reminder to re-work the half hood; its not used much, but when it is it should work a little better.

Good weekends run out!

Sunday, 14 June 2015

Tyre rotation & Castle Combe Prep

Tyres

Seems tyre rotation is frowned upon nowadays, however; with the Zero I want all four to wear out roughly at the same time, so when I change them I can put a different make on as a set. 

Front are lowest tread on the inside edge; perhaps too much camber - My plan is to have the geometry set professionally when I change the tyres.

8.4k miles in I'm doing a standard Rear Wheel Drive rotation pattern.

Castle Combe next weekend

Excuse to give her a wash and repair the windscreen chip at the same time.

All set for Castle Combe Classic Kit and Retro Show next weekend - if nothing else a drive west rather than north: weekend away to meet up with some RhoCar members and, if the weather plays ball, a nice meander back.

Saturday, 6 June 2015

New 2.4 Quick Steering Rack


Steering rack upgrade; Intended to avoid me getting 'behind the car' on those fast/speed change corners which tighten mid way. The new rack is a 2.4 replacing the old 2.9.

At the same time I'm upgrading the mounts to billet alloy:


First trick, I didn't want to take the radiator out and drain/refill the cooling system unless I had to. The rack cannot be extracted or installed from the side - it doesn't fit through the panel openings - so instead a convoluted route, threaded down the side of the engine and then up and out at the front, new one went back in the same way:

New (foreground) and old, identical external appearance:

It could have been a simple bolt in job, but changing the mounts also meant some adjustment of mounting holes on the nearside chassis bracket - again not easy due to leaving the radiator in place - but the results are tidy:

The bonus - steering wheel now straight, I actually checked it this time while setting up the wheel alignment:

Excuse for a test run this evening around 70 miles towards Faversham, via some great country lanes near Norton and back along the A2; the 2.4 rack does make manoeuvring, especially reversing, a little heaver. At medium speed not a huge difference, but when accelerating or driving at speed the slightest nudge on the wheel has a dramatic impact - like it!