Note - As with every part of this build - this is the first time I've done it - this is NOT a manual - its my record of what I did.
Is it flat... enough?
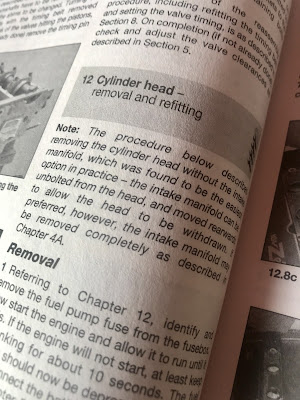
Haynes manual spec says: "Maximum permissible gasket surface distortion 0.1mm"
Acquired a straightedge with spec: "Tolerance below 0.03mm"
Feeler gauges: 0.04mm upwards.
Prep
While tools were on order research via a selection of youtube videos + read the Haynes manual for the engine and consult with some trusted sources.
Very light cleaning with light oil, soft softwood scraper, then isopropyl alcohol to remove any gasket residue and then inside the cylinder/valve area lubricated lightly with engine oil again and left to dry.
The gasket left behind random bits of its rubber coating which sort of peeled off in places. Some discolouration visible, but also the original machining marks visible which must be a good sign that its clean.
It feels smooth to the touch - which sounds like a daft measurement - but fingertips are incredibly sensitive to local distortion - better than sight anyway - useless for overall bend across the whole component though.
Measurement errors
Built in I have potential error of 0.03mm from the straightedge, therefore worst case the ruler could be making the head look flatter than it is by 0.03mm (if they both bend in the same direction - top scribble).
If the head bends the other way to the straightedge error then it would make things look worse (bottom scribble) of course I can't tell which if either is happening.
Therefore to detect the worst case I need to measure 0.1-0.03 = 0.07mm flatness or better to be within spec head flatness. Take off some for errors in the measuring process and I went for a 0.05mm feeler.
Am I kidding myself - or - is that logical?
Measuring points the obvious long directions, but also diagonals and really any flat between any holes. This picture showing the sort of pattern I adopted, repeated across all cylinders/head bolt holes.
Measure method #1
Lay the straightedge on the block, attempt to slide the 0.05mm gauge underneath, checking all obvious flats and paths between openings.
Measure method #2
Lift either end of the straightedge by a known amount - 1 thickness printer paper - and using a feeler of the same thickness as the paper (or even more of the same paper) check for any differences - loose or tight spots. (Thanks for this concept Graham)
The advantage here is the thickness of feeler is no longer critical to the measurement. I can measure down to the 0.03mm straightedge tolerance with a paper thickness feeler. The gauge should make it under with that little 'grab' you would expect in all places/directions. The paper may depress during the process - but even that should get me a fail safe/better resolution.
Result
So far - all good - consistent, no low spots no high spots identified with either method.
Left it for a day or so and repeated to make sure its not just my wishful thinking that its flat and make sure I'm comfortable with this stage before making the re-assemble vs skim decision.


