
Finishing off the shroud drilling, ensuring the outside edge is lined up flush with the chassis tube, checking the tadpole trim will sit over the panel on the outside, and over the carpet on the inside:

Trim bonded on
Then dismantled, I cut all the 'tadpole' trim & glued in place with a thin bead of bond. I cleaned the stainless with white spirit first to remove the greasy finger marks, and white spirit to hand on a rag incase any bond got on the facing side of the trim:

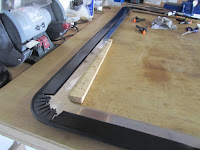


Flipped the right way up for the bond to go off, i.e. the arms bending the way they will on the car:

Re-assembly
I gave the bond a couple of hours to go off then drilled back through the rivet holes opening up holes in the trim underneath.
I drilled the pilot holes for the spare wheel carrier using the red marks made earlier then re assembled, with enough clecos to ensure the bottom edge is in the right place. Those ripples on the top trimmed edge go away when all the clecos/rivets are in place:


Open out the spare carrier holes - attempt
The plan was to use a Dremel router bit to open up those two pilot holes. I tried it first on an off-cut of stainless and it seemed to work well. Tried it on the back panel holes - the router bit caught/jamed in the hole, came lose and flew off across the garage at incredible speed!
I was wearing eye protection & anyway didn't go in my direction but did result in smashing a spare double glazed door panel stored in the garage:
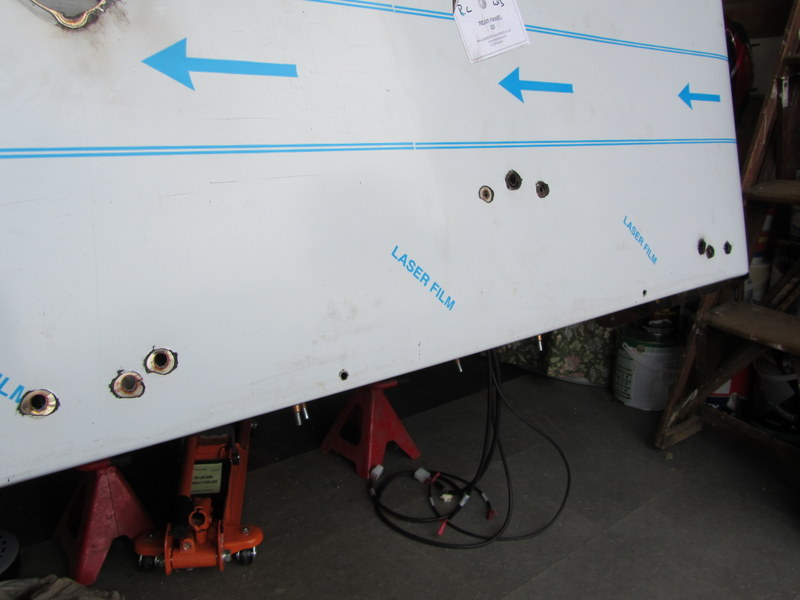
I took a step back and thought of options - more pilot holes? hacksaw blade? The best one seems to be manual with files opening out the holes to the right shape - 10 minutes with my modelling needle files got this far, I'll pickup some slightly larger ones and continue down this slow (but decidedly less dangerous) route.

